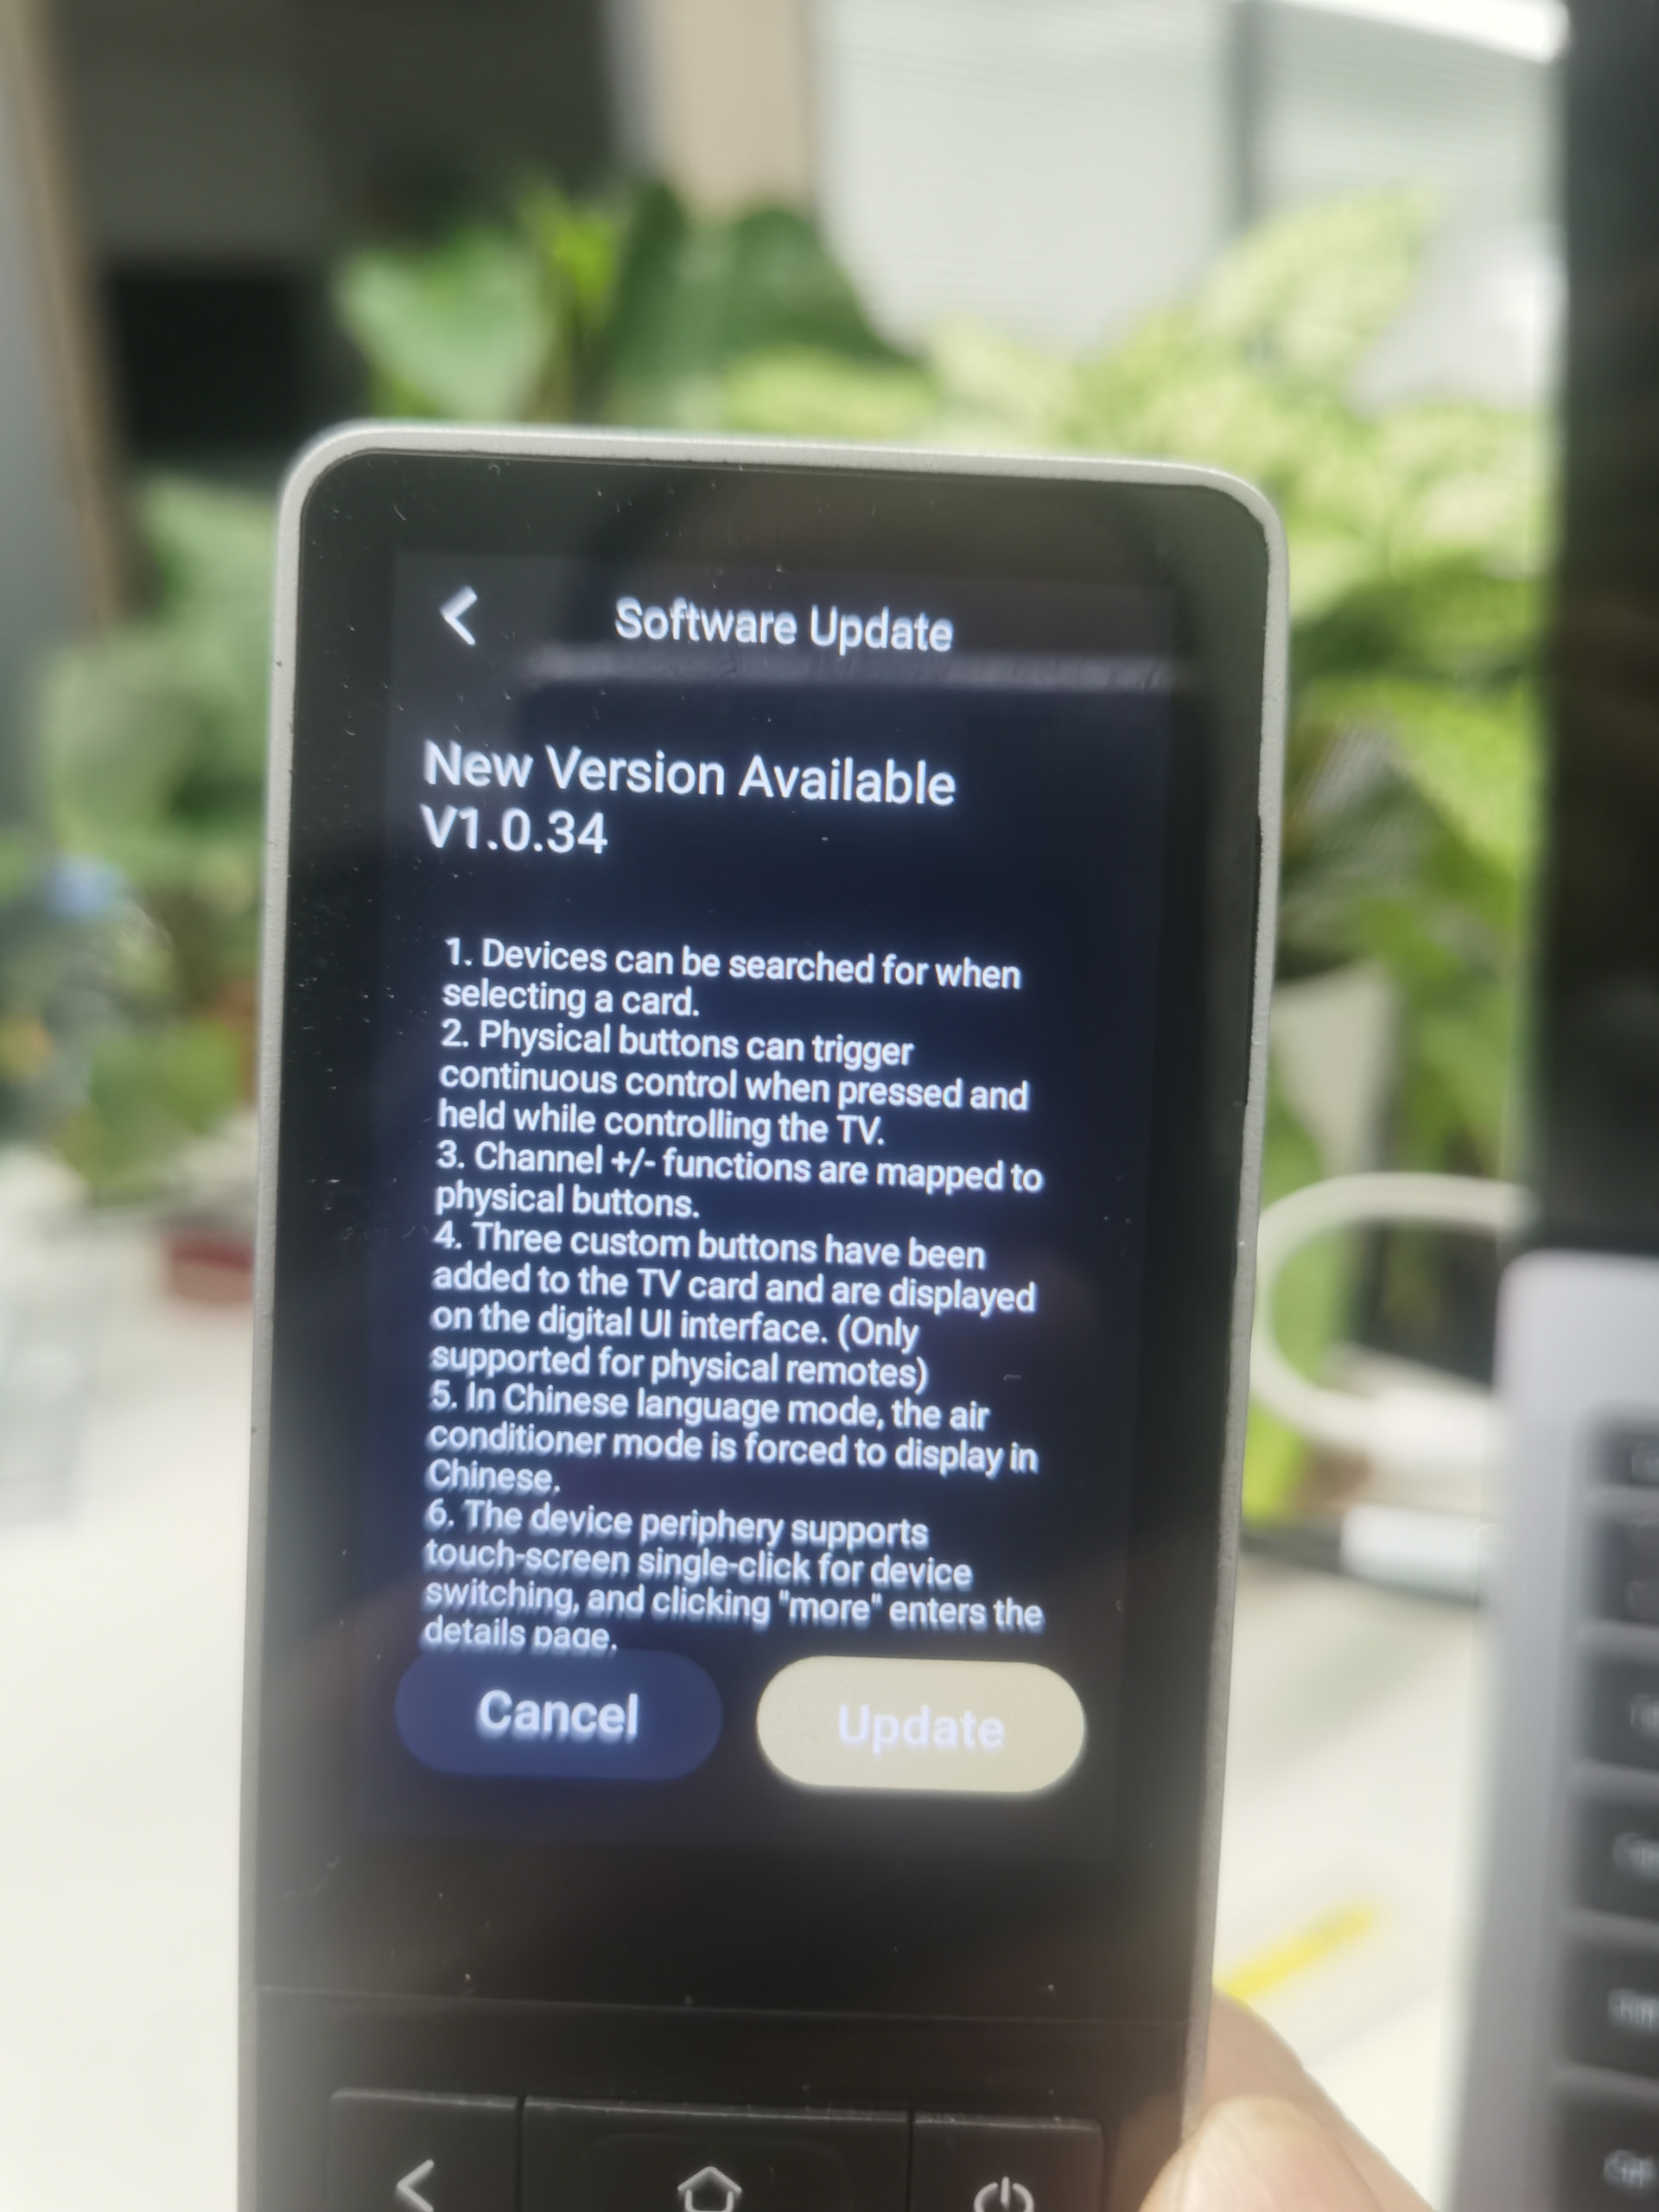
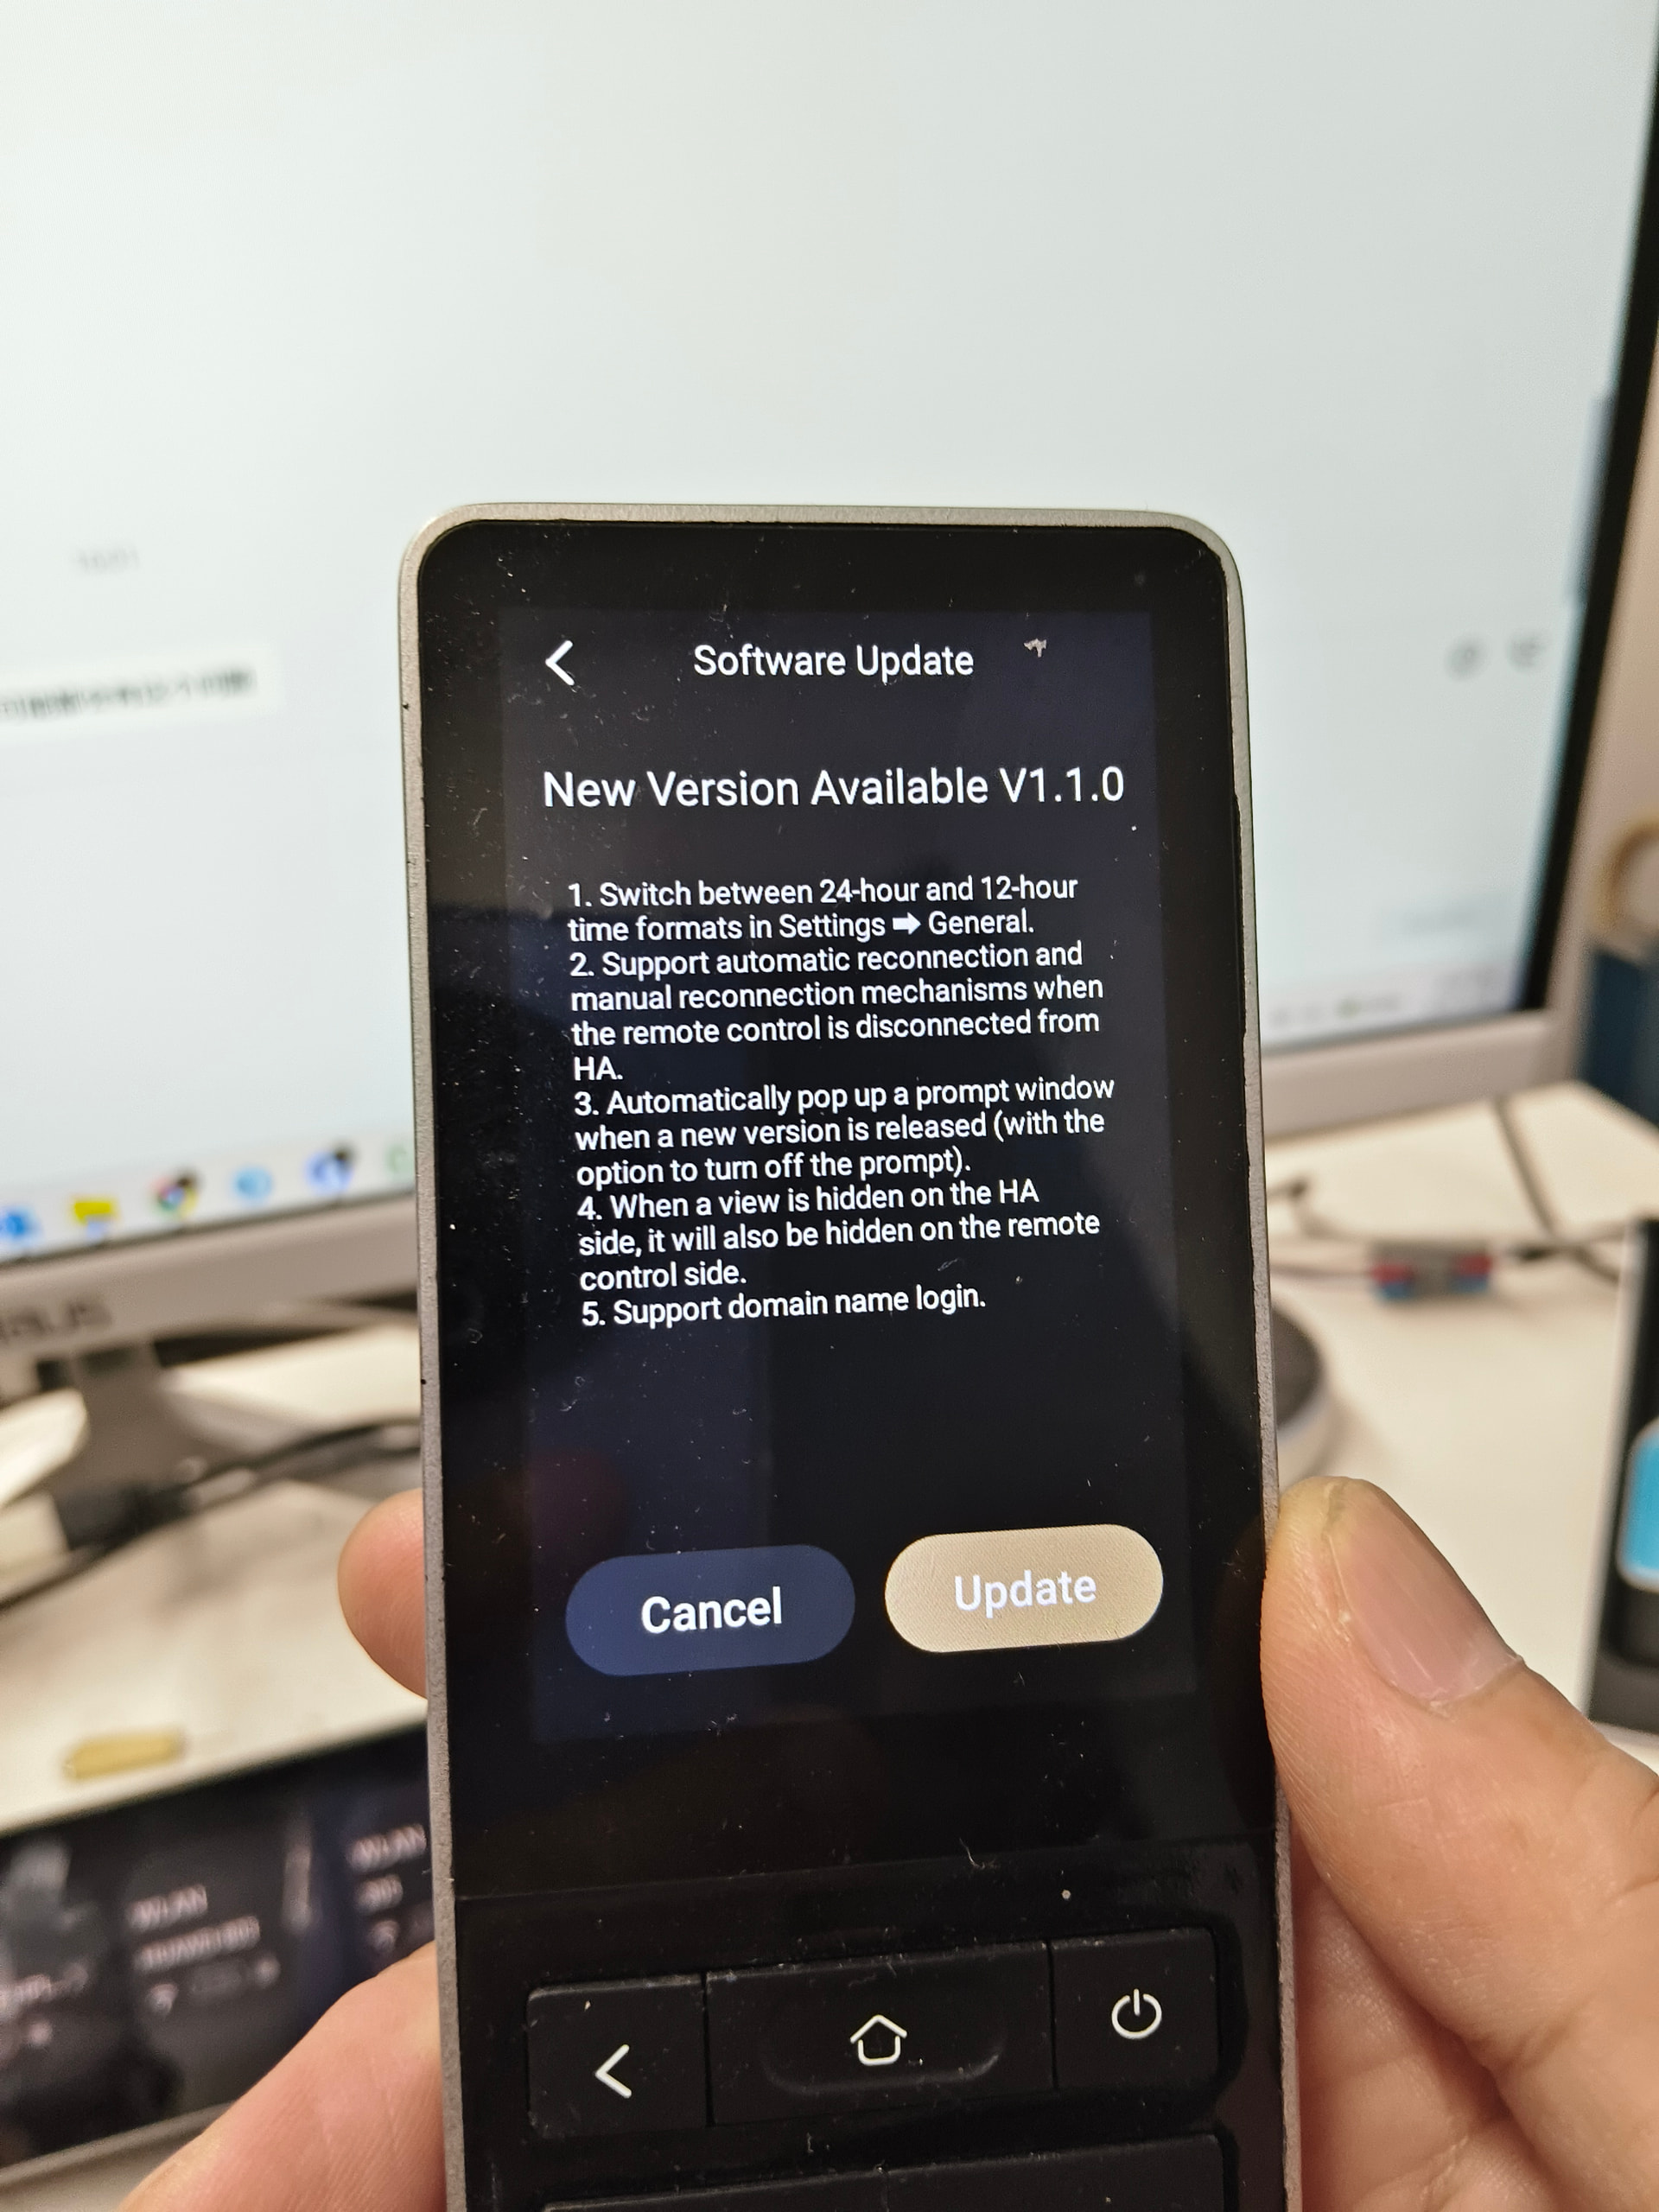
Astrion Smart Remote Firmware V1.2.0 Release Notes
Firmware Version: V1.2.0
Release Date: June 6, 2026
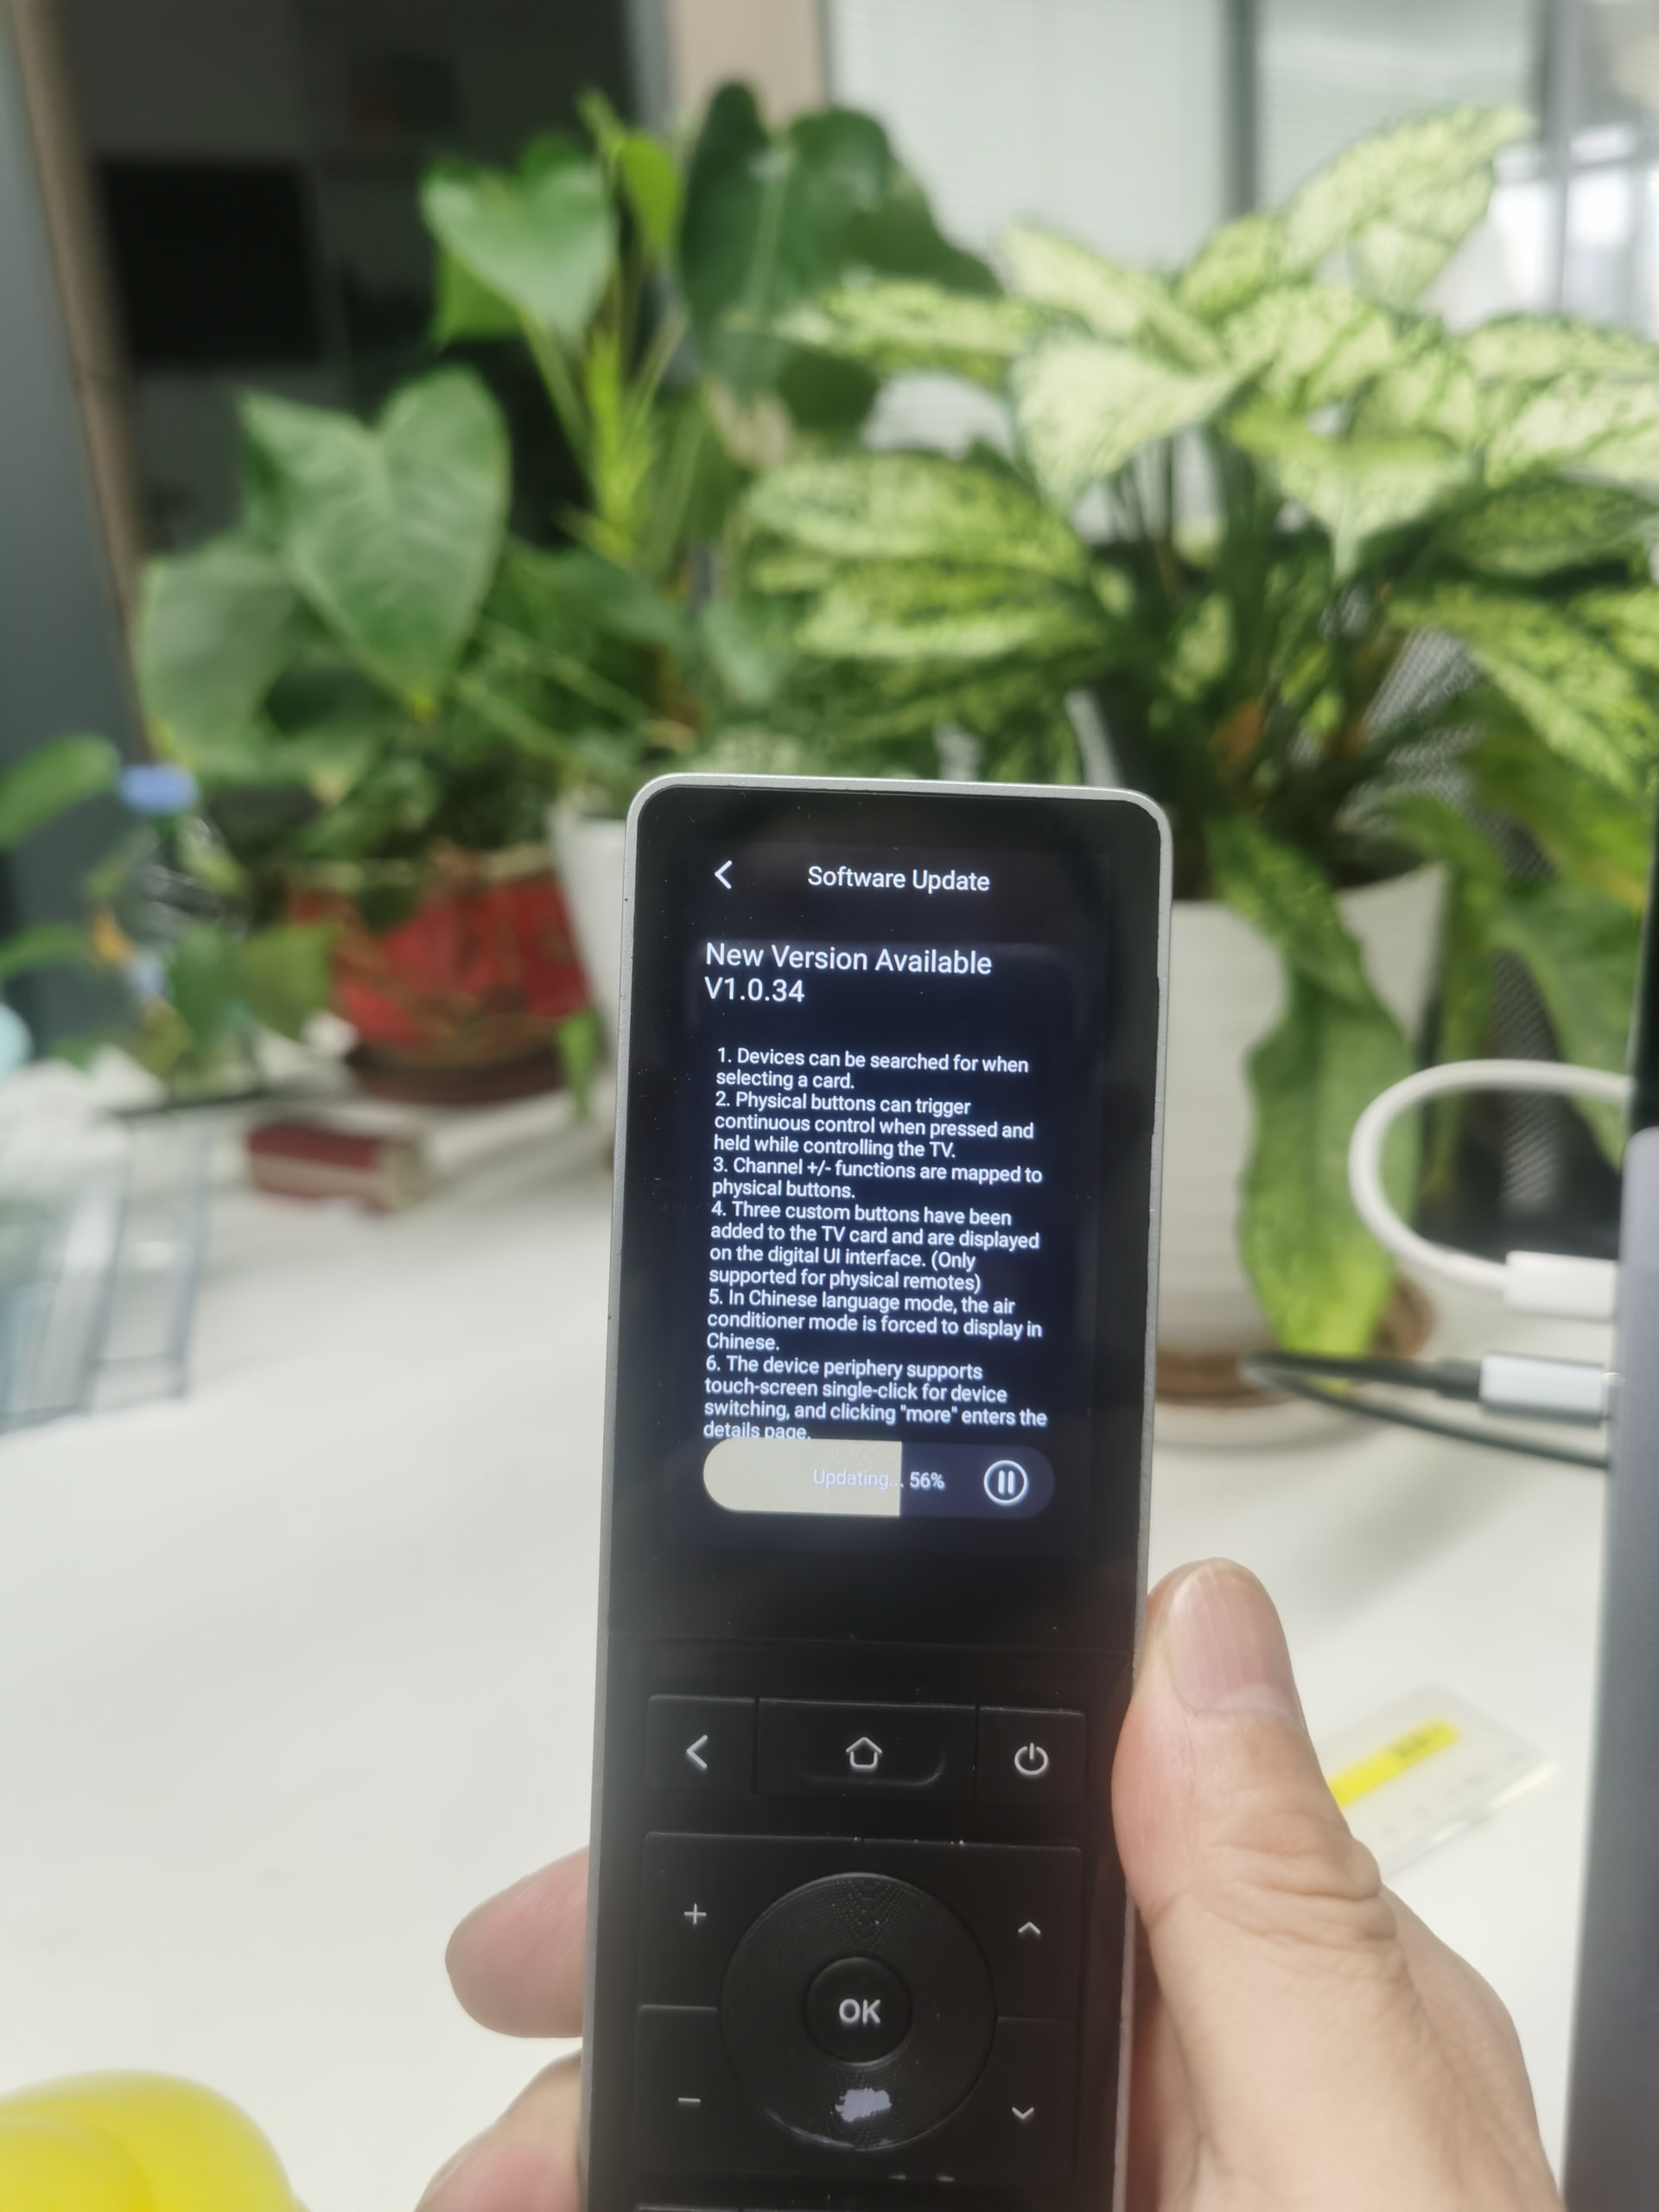
Update Method: OTA (Over-the-Air)
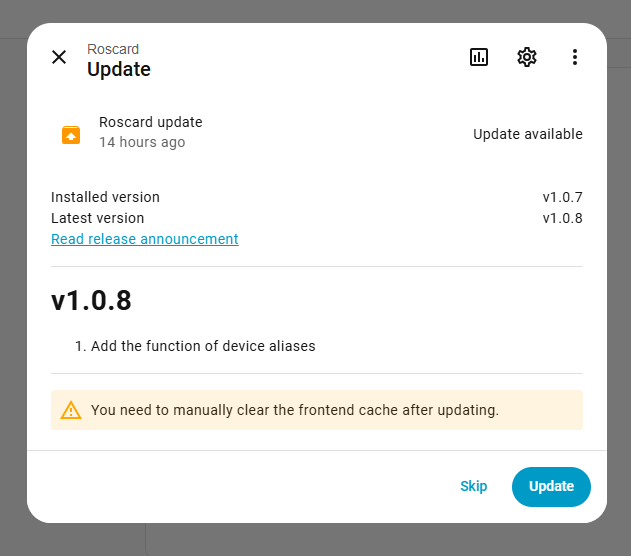
Note: New features require updating the Roscard card to V1.2.0 to function properly.
 Important Before Updating
To use the new features introduced in Firmware V1.2.0, please make sure you have updated the following components:
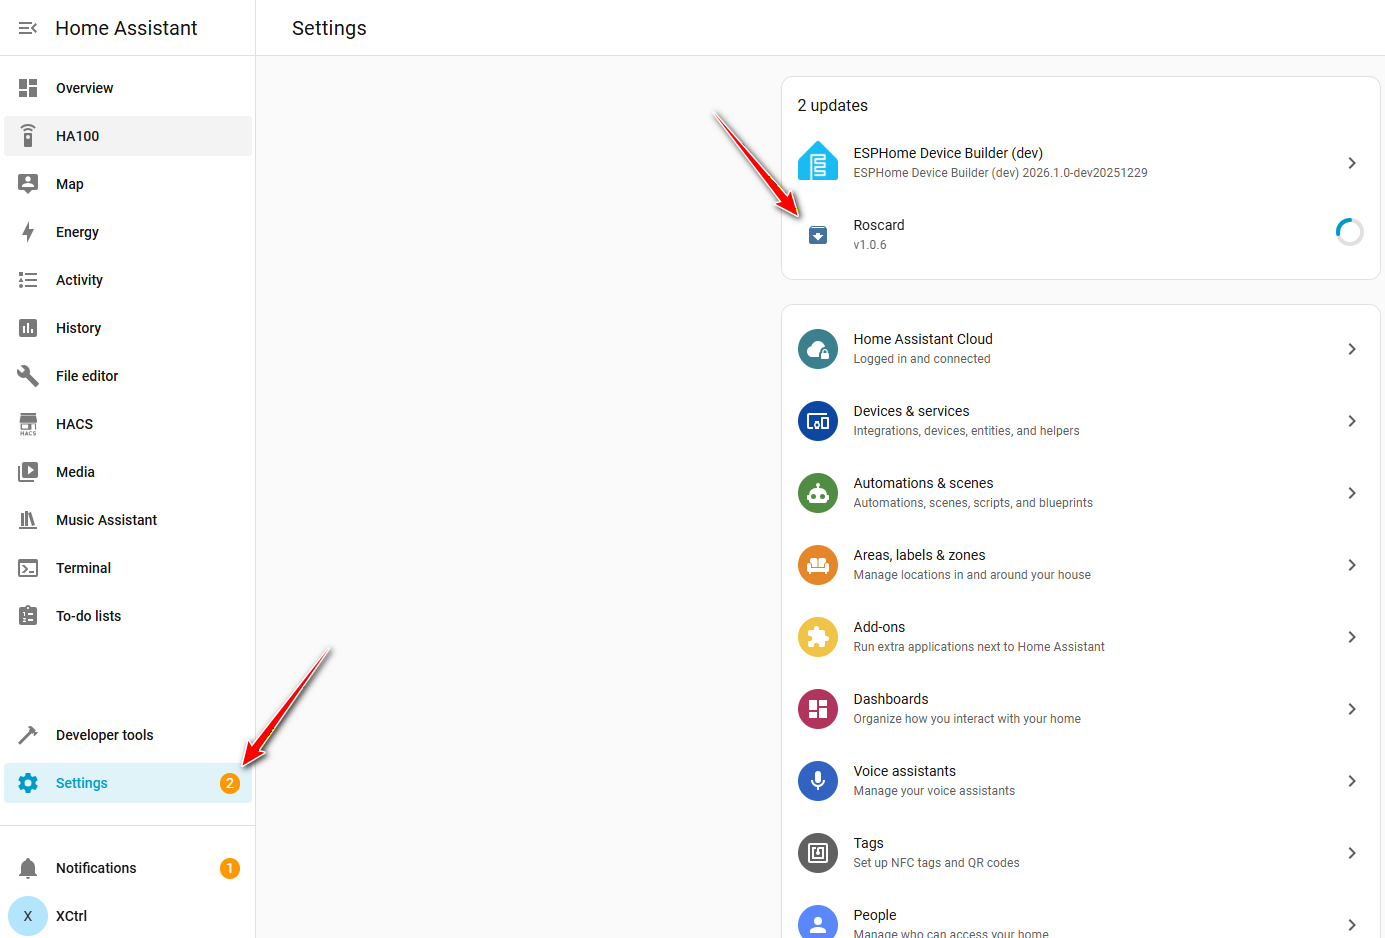
Roscard Card
Version: V1.2.0
Update Method: Update via HACS
Astrion Home Integration
The Astrion Home Integration is currently not listed in the default HACS repository search.
Like the ROS Card, it must first be added as a custom repository before installation.
GitHub Repository:
https://github.com/yyqclhy/Astrion-integration
Add Custom Repository
-
Open HACS
-
Click the three-dot menu (⋮)
-
Select Custom Repositories
-
Paste the repository URL above
-
Select Integration as the repository type
-
Click Add
-
Search for Astrion Home Integration
-
Install and restart Home Assistant
 Note: If you cannot find Astrion Home in HACS search results, it usually means the custom repository has not yet been added.
 What’s New in Version 1.2.0
New Features
Local IR (Infrared) Control
Added support for local infrared control directly through the Astrion Smart Remote.
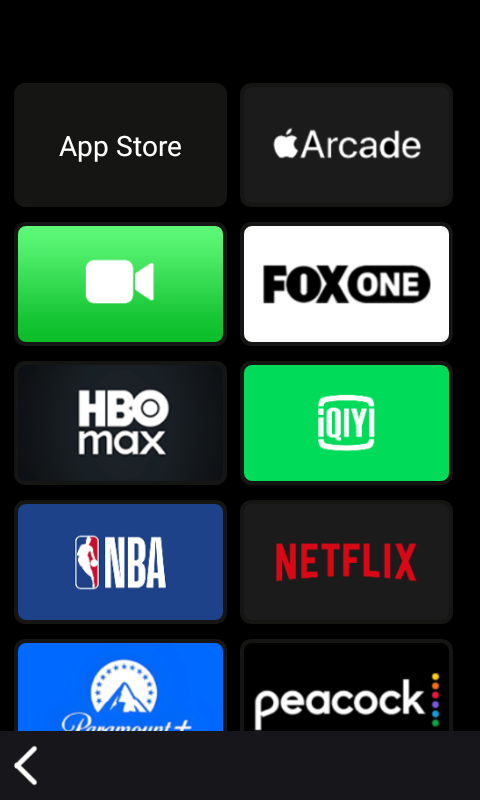
TV Card Support for Astrion IR
TV Cards can now directly control Astrion IR entities.
TV Card Support for Harmony HUB
Added support for binding Harmony HUB entities to TV Cards.
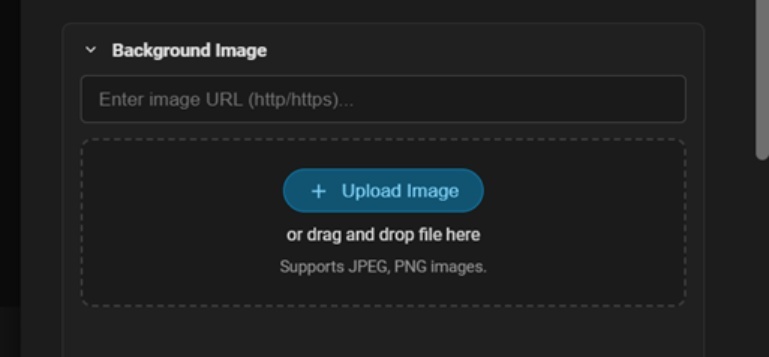
Custom TV Card Backgrounds
TV Cards now support custom background image URLs.
TV Card Experience Improvements
Multiple UI and usability optimizations have been implemented to improve the overall remote control experience.
 Adding the Astrion Home Integration
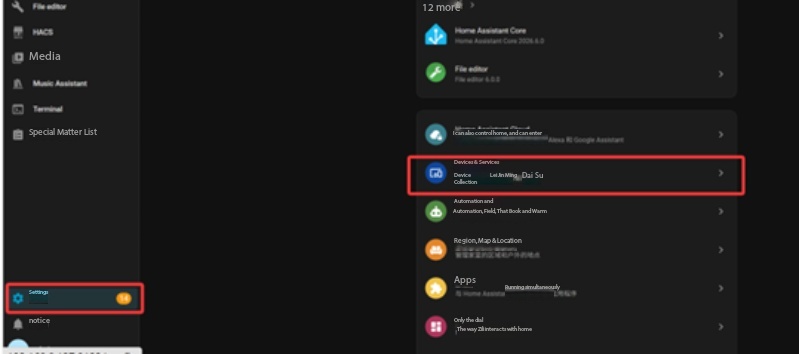
Step 1 – Add Integration
Open Home Assistant and navigate to:
Settings → Devices & Services
Click:
Add Integration
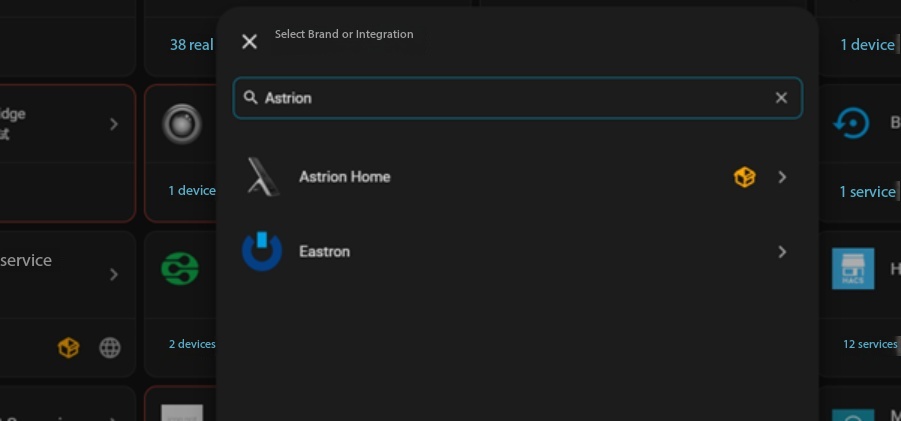
Step 2 – Search for Astrion Home
Search for:
Astrion Home
Select the integration to begin setup.
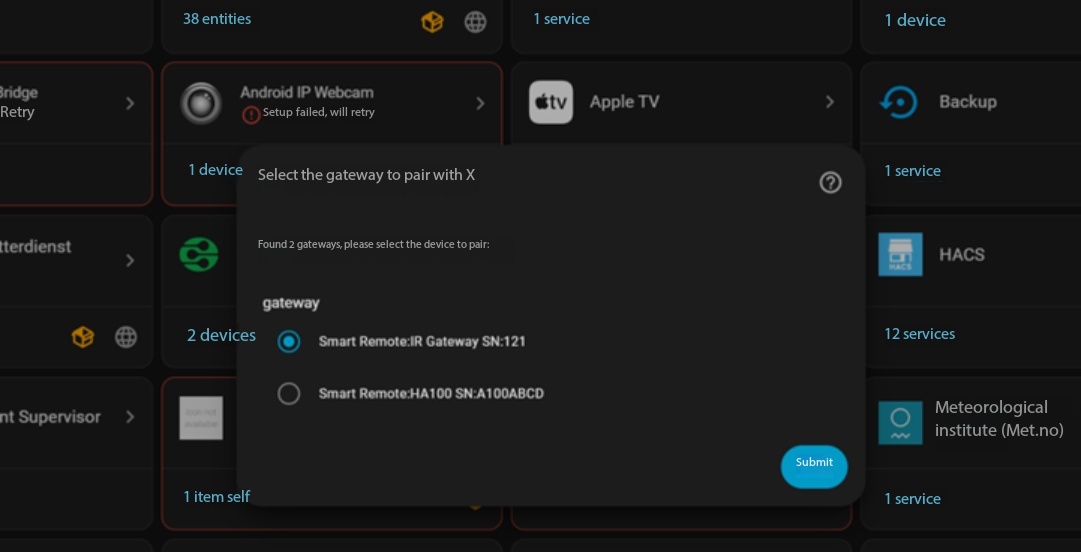
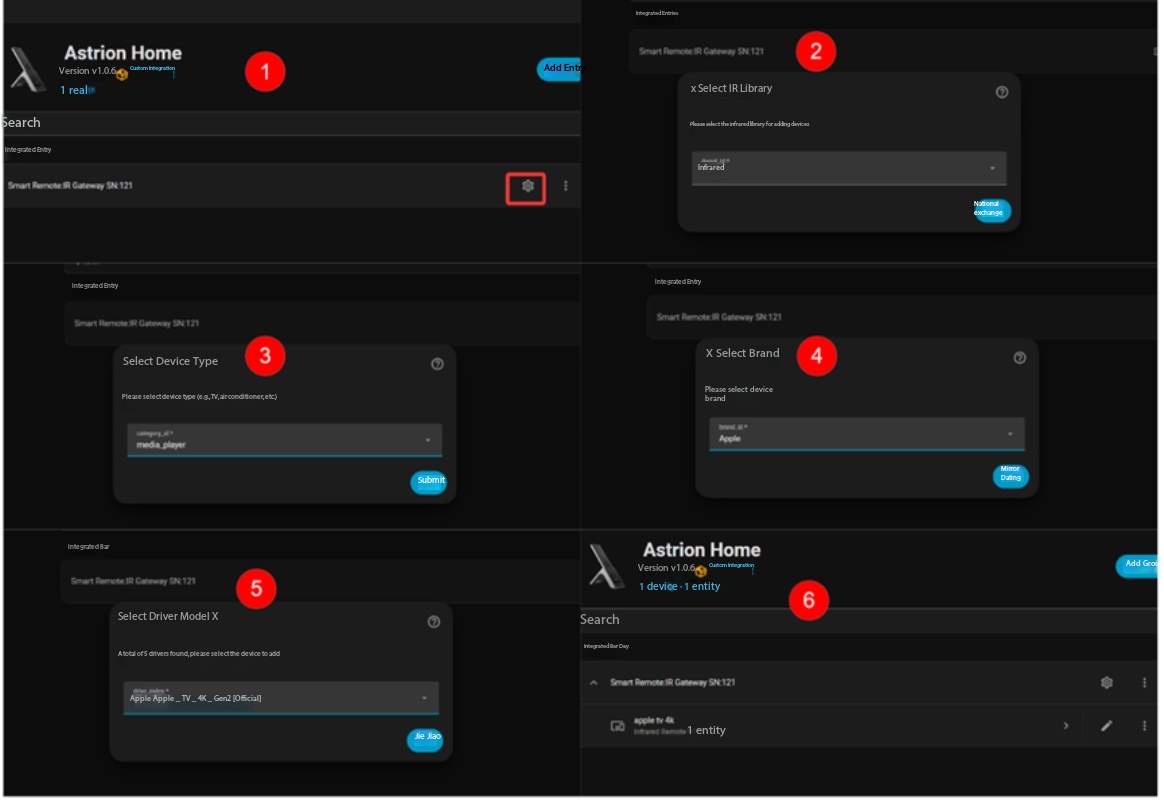
Step 3 – Select Remote Gateway
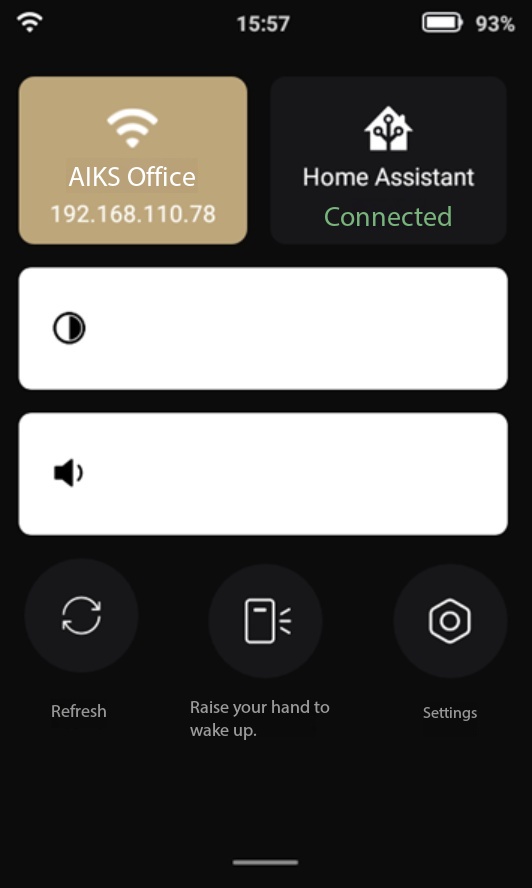
The integration will automatically scan for Astrion Smart Remote gateways available on your network.
Select the appropriate gateway and click:
Submit
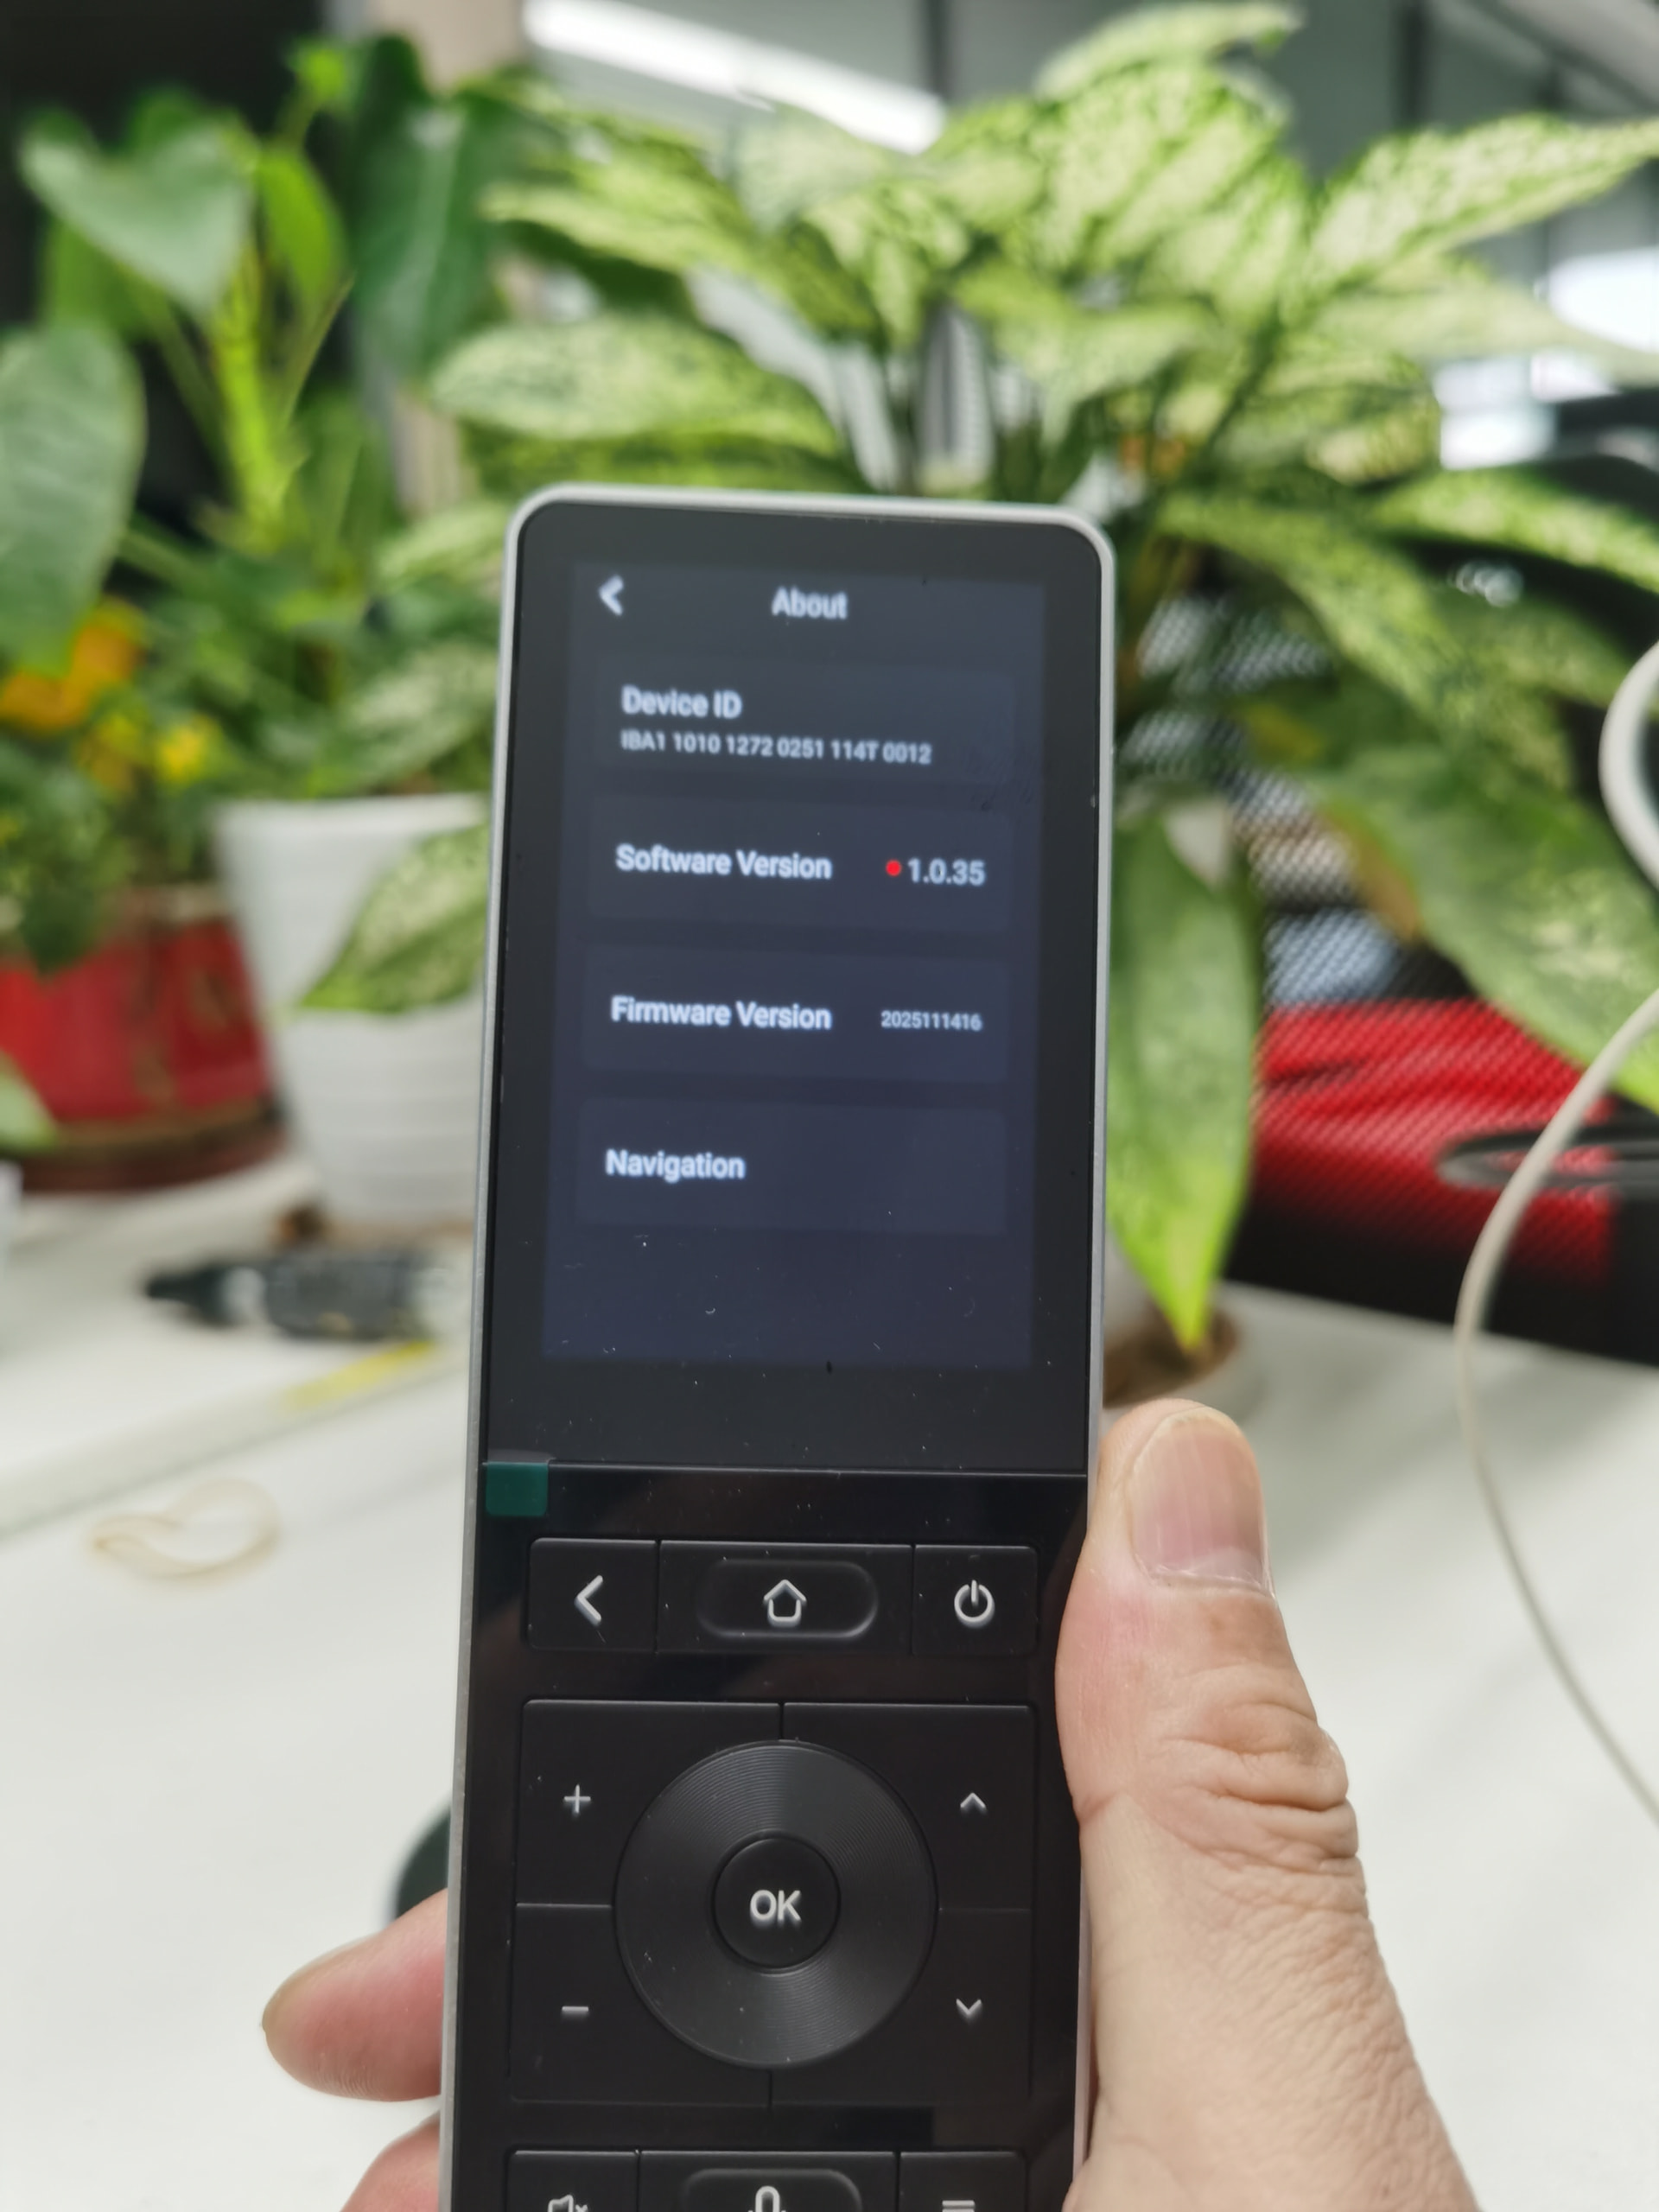
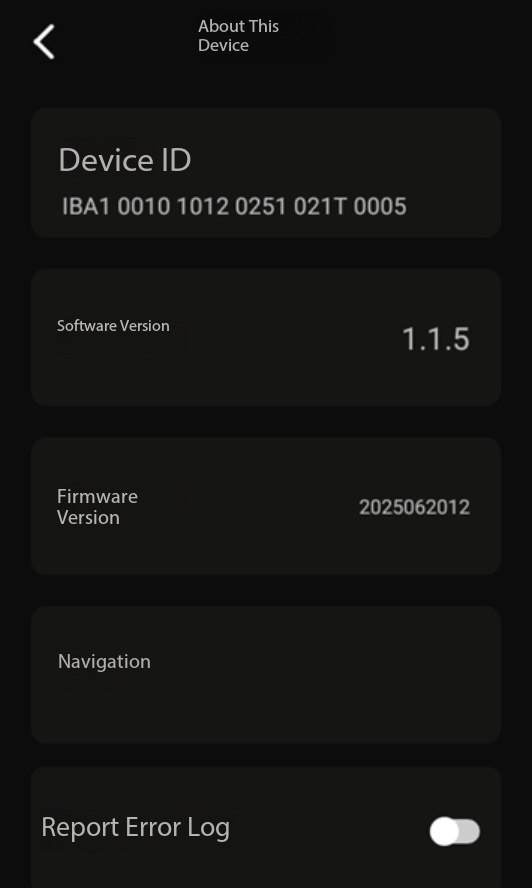
Gateways are identified by their unique Serial Number (SN).
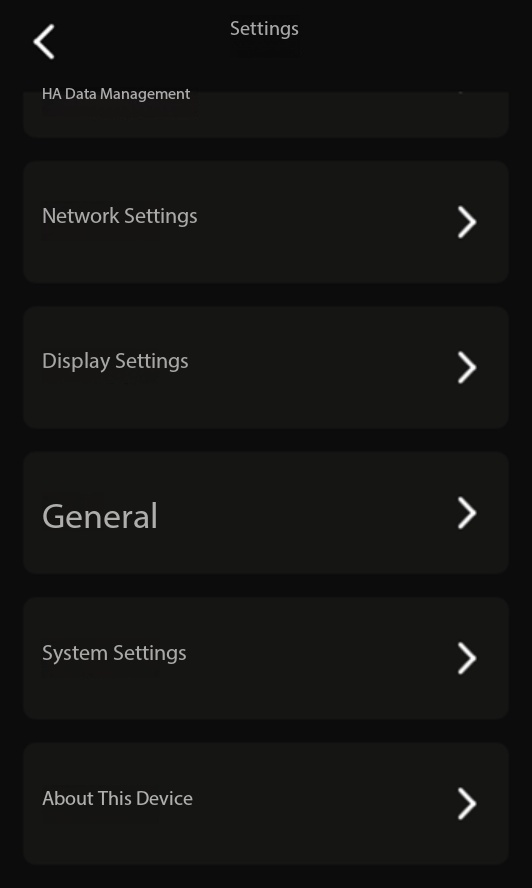
You can find the SN from:
Remote → Settings → About
If no gateway is discovered, verify that both Home Assistant and the Astrion Smart Remote are connected to the same local network.
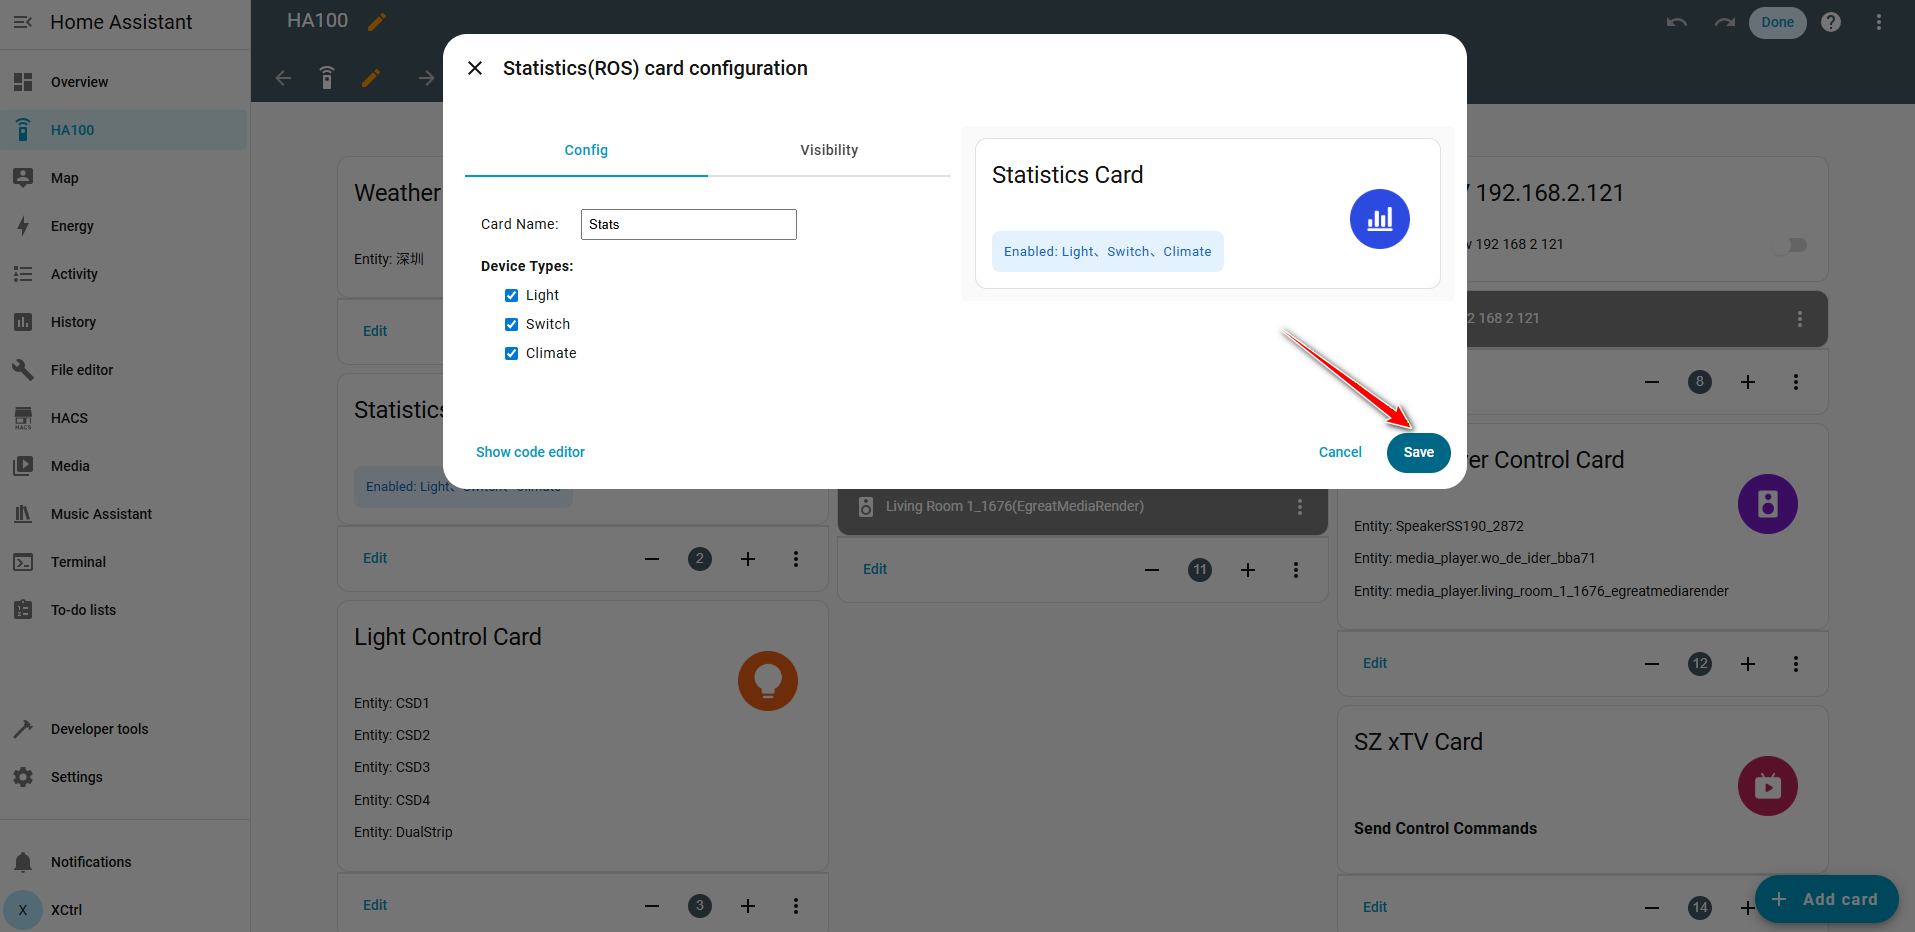
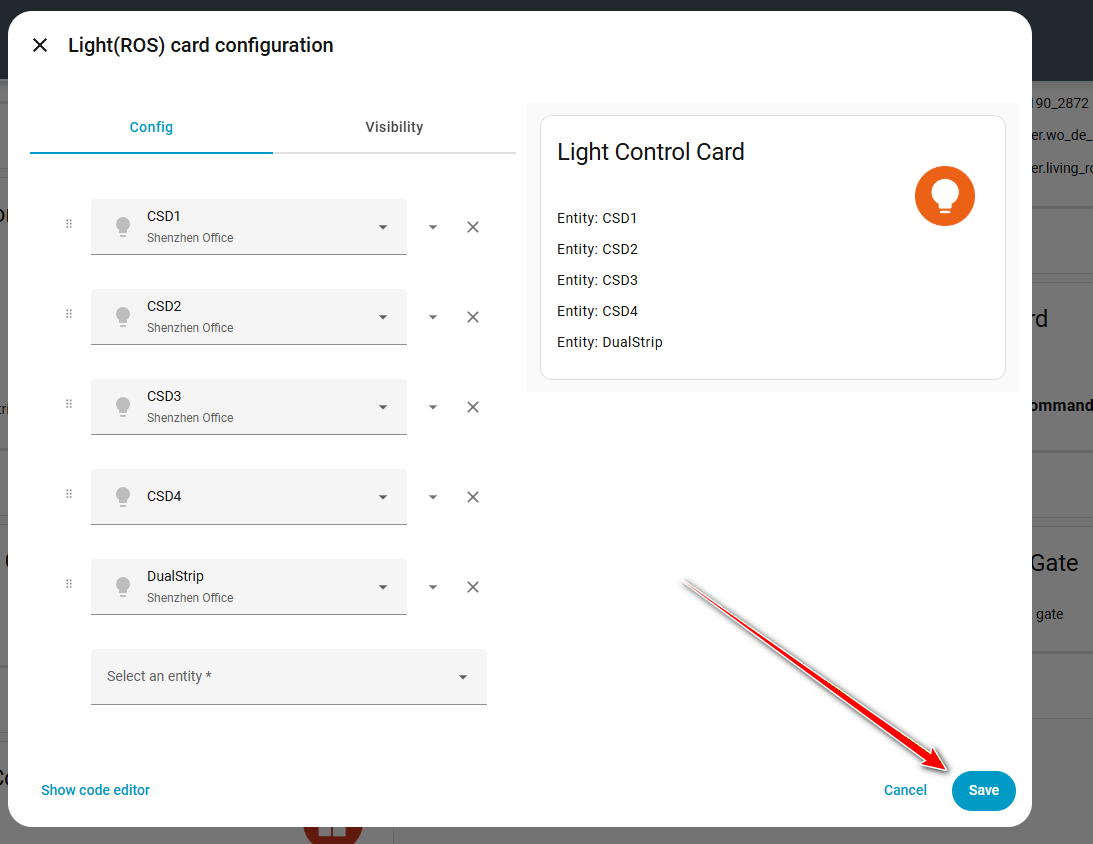
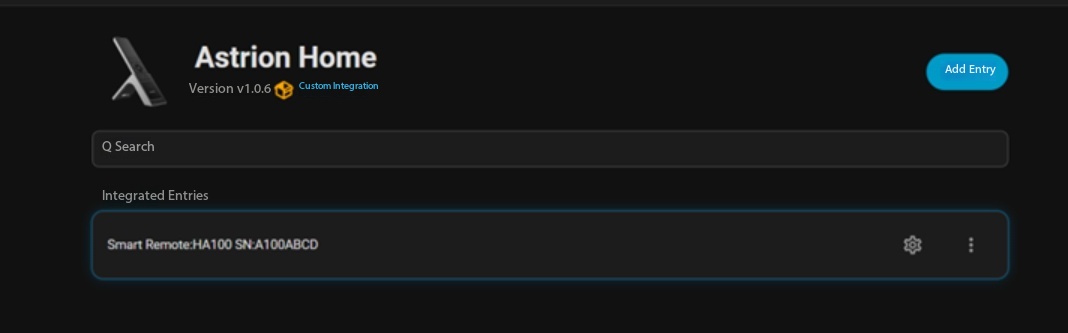
Step 4 – Configure Your Remote
Select the desired remote and click the Settings ( ) icon.
Follow the setup wizard to complete configuration.
Current Recommendation
Although the Astrion IR library already supports a wide variety of devices, the TV Card is currently the primary interface optimized for IR control.
For the best experience, we recommend adding:
-
TVs
-
Streaming boxes
-
Media players
Additional IR device categories will be introduced in future updates based on community feedback.
 TV Card Optimizations
1. Background Customization (New)
You can now assign custom image URLs to personalize TV Card backgrounds.
2. Improved Terminology
The previous label:
Signal Source
has been replaced with more intuitive naming throughout the interface.
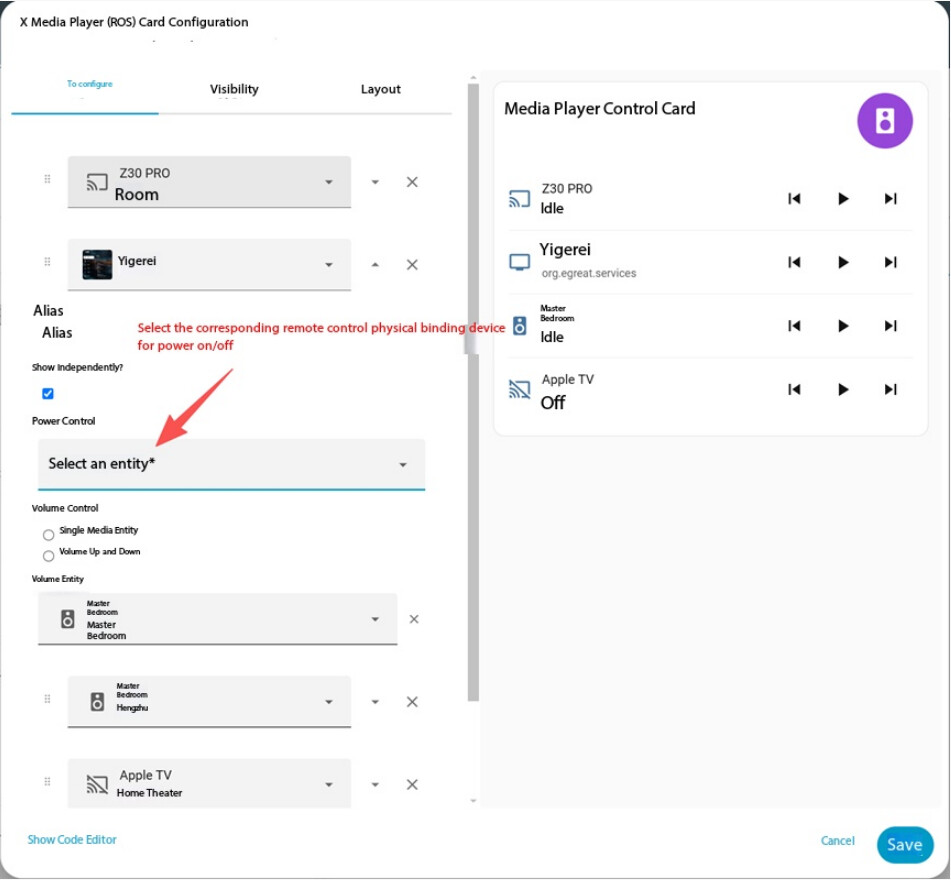
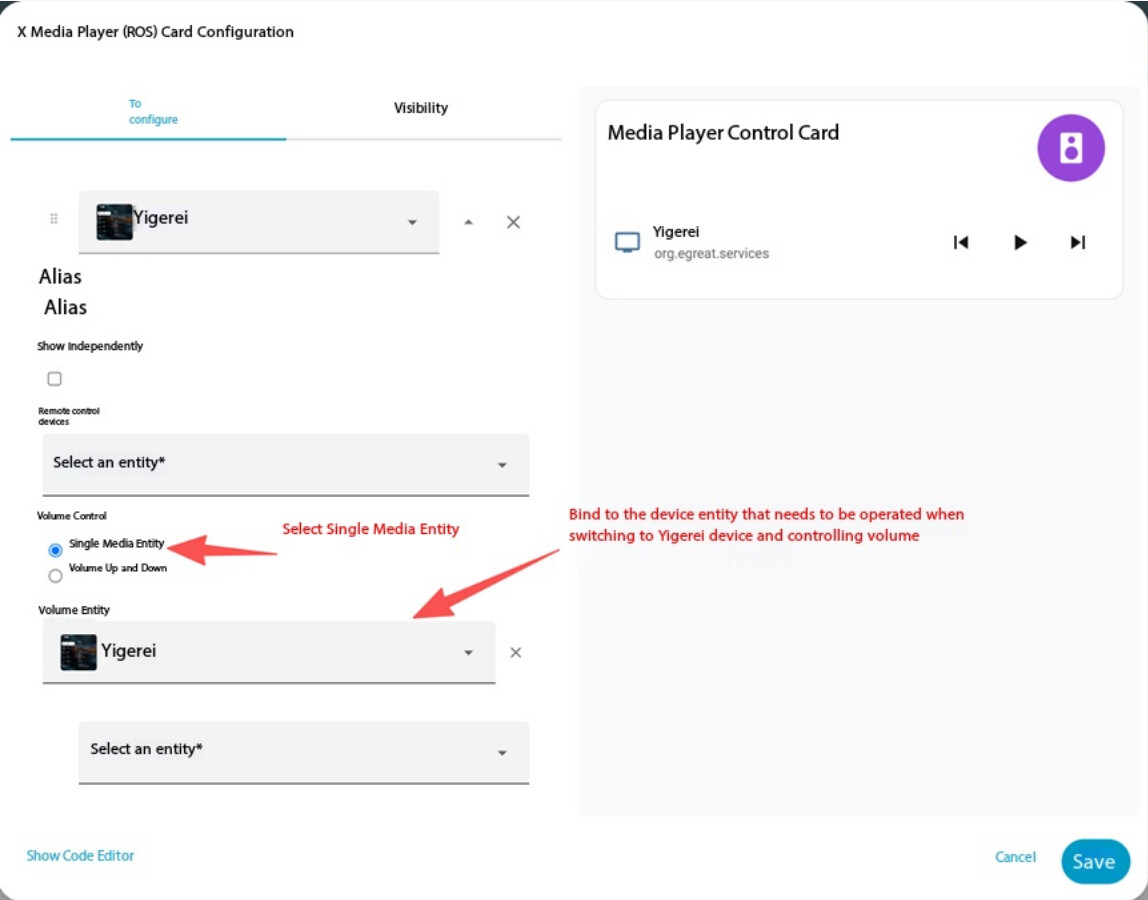
3. Media Entity Binding Support
TV Cards now support direct binding to Home Assistant media entities
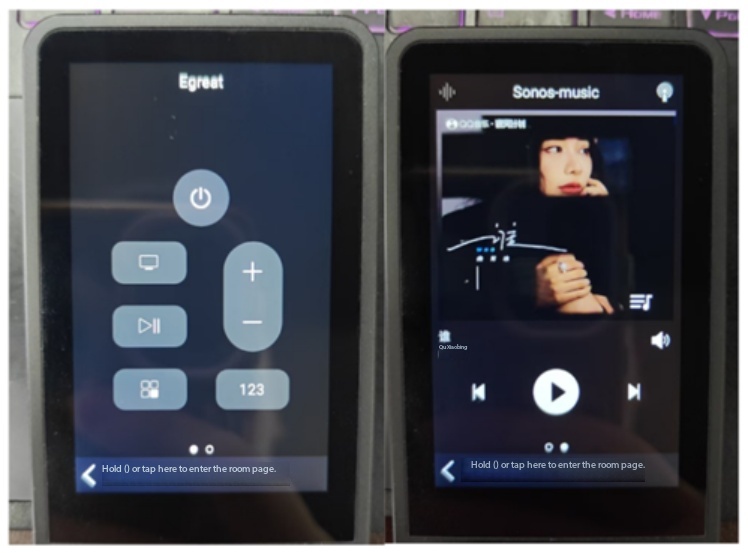
How It Works
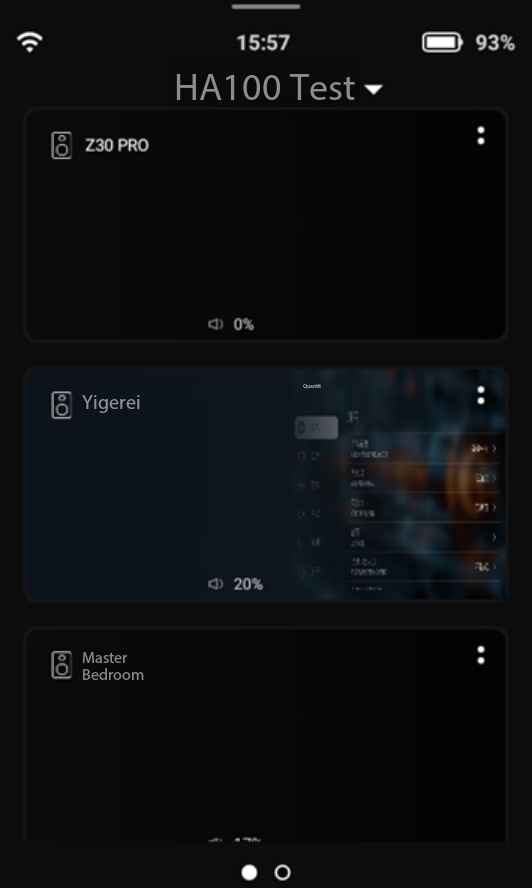
When a media entity is attached to a TV Card, the remote interface automatically creates two swipeable pages:
Page 1 – Device Control
Includes:
-
Power
-
Direction Keys
-
Enter
-
Navigation Controls
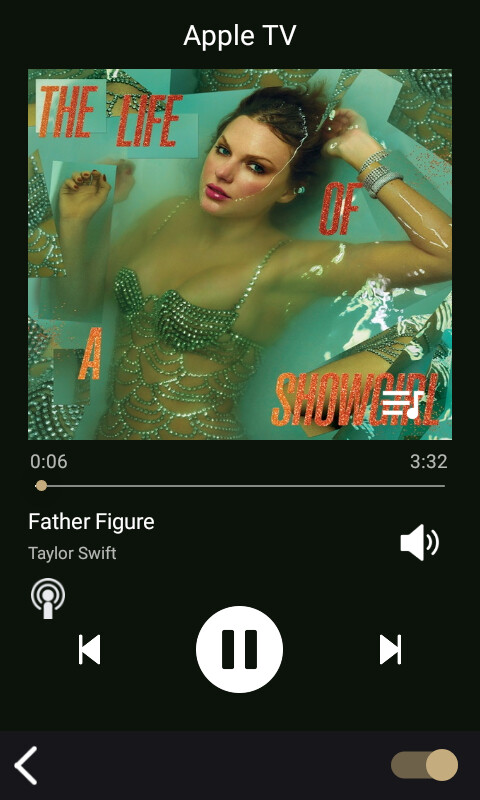
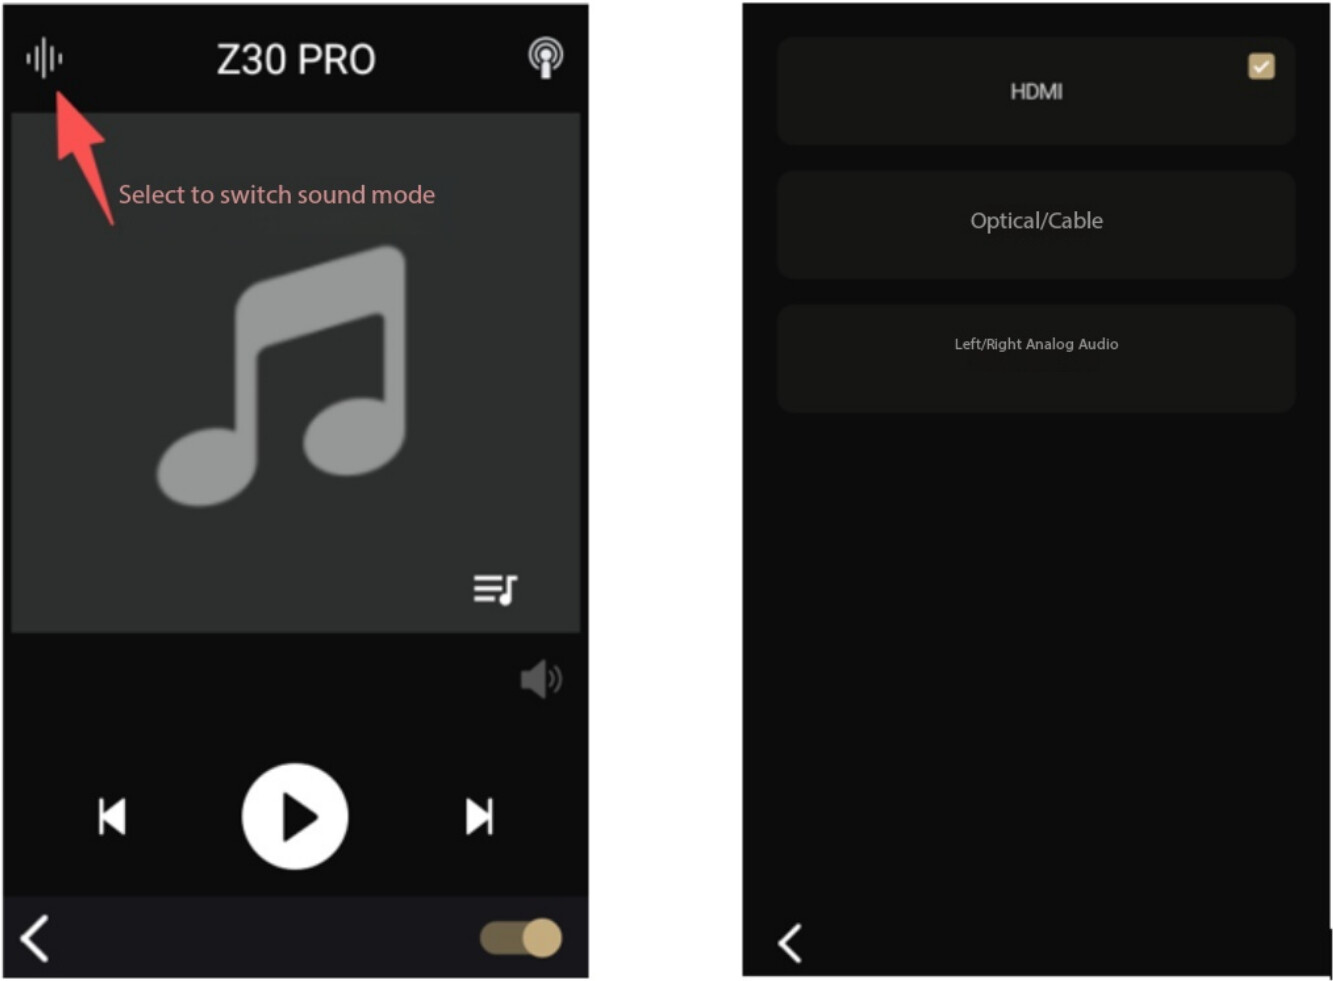
Page 2 – Media Playback
Includes:
-
Play / Pause
-
Previous Track
-
Next Track
-
Media Controls
Example: Apple TV
You can bind:
to the same TV Card.
Simply swipe between pages to switch from navigation controls to media playback controls without leaving the card.
This provides a smoother and more efficient user experience.
4. Expanded Button Mapping
TV Cards now support button mapping for:
 Astrion IR Button Mapping
-
Open TV Card Settings
-
Navigate to Button Configuration
-
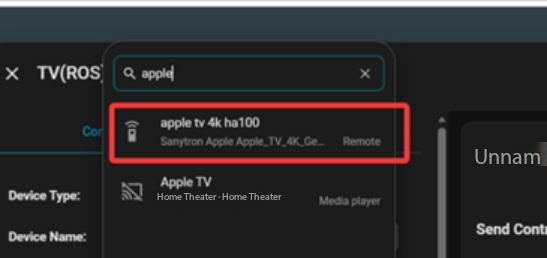
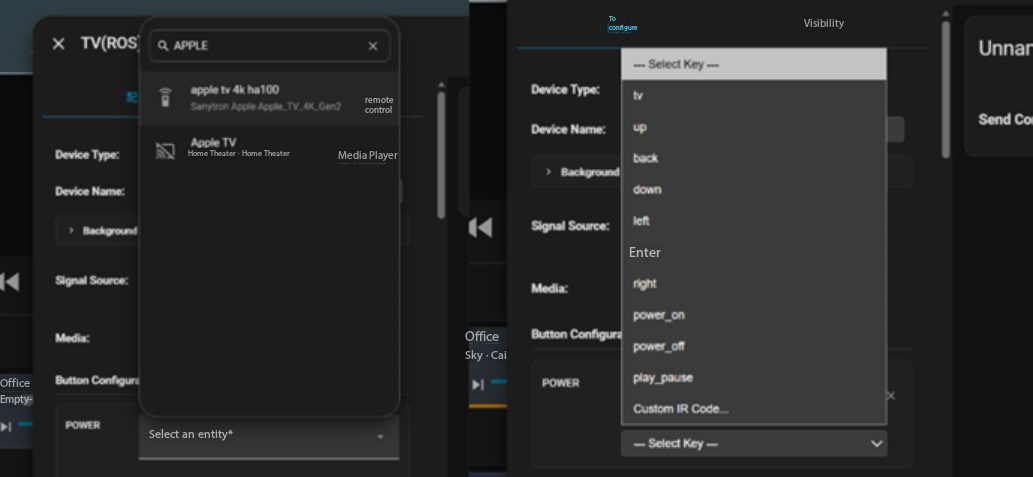
Search for your Astrion IR entity
-
Assign commands to the desired buttons
The example below demonstrates Apple TV remote control mapping.
 Harmony HUB Integration
Requirements
Step 1 – Select Harmony HUB
Open TV Card Settings.
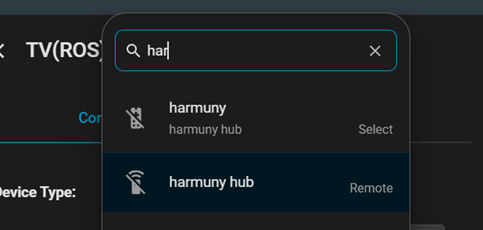
Under Button Mapping, choose:
-
Harmony Remote Mode
-
Harmony Select Mode
depending on your preferred workflow.
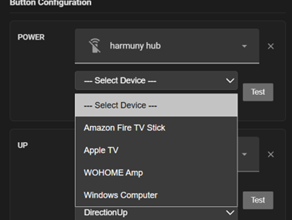
Step 2 – Configure Button Mapping
-
Remote Mode
Choose a Harmony remote device and map individual commands to buttons.
-
Select Mode: If you choose select mode, you can directly bind pre-configured Home Assistant scripts or activities.
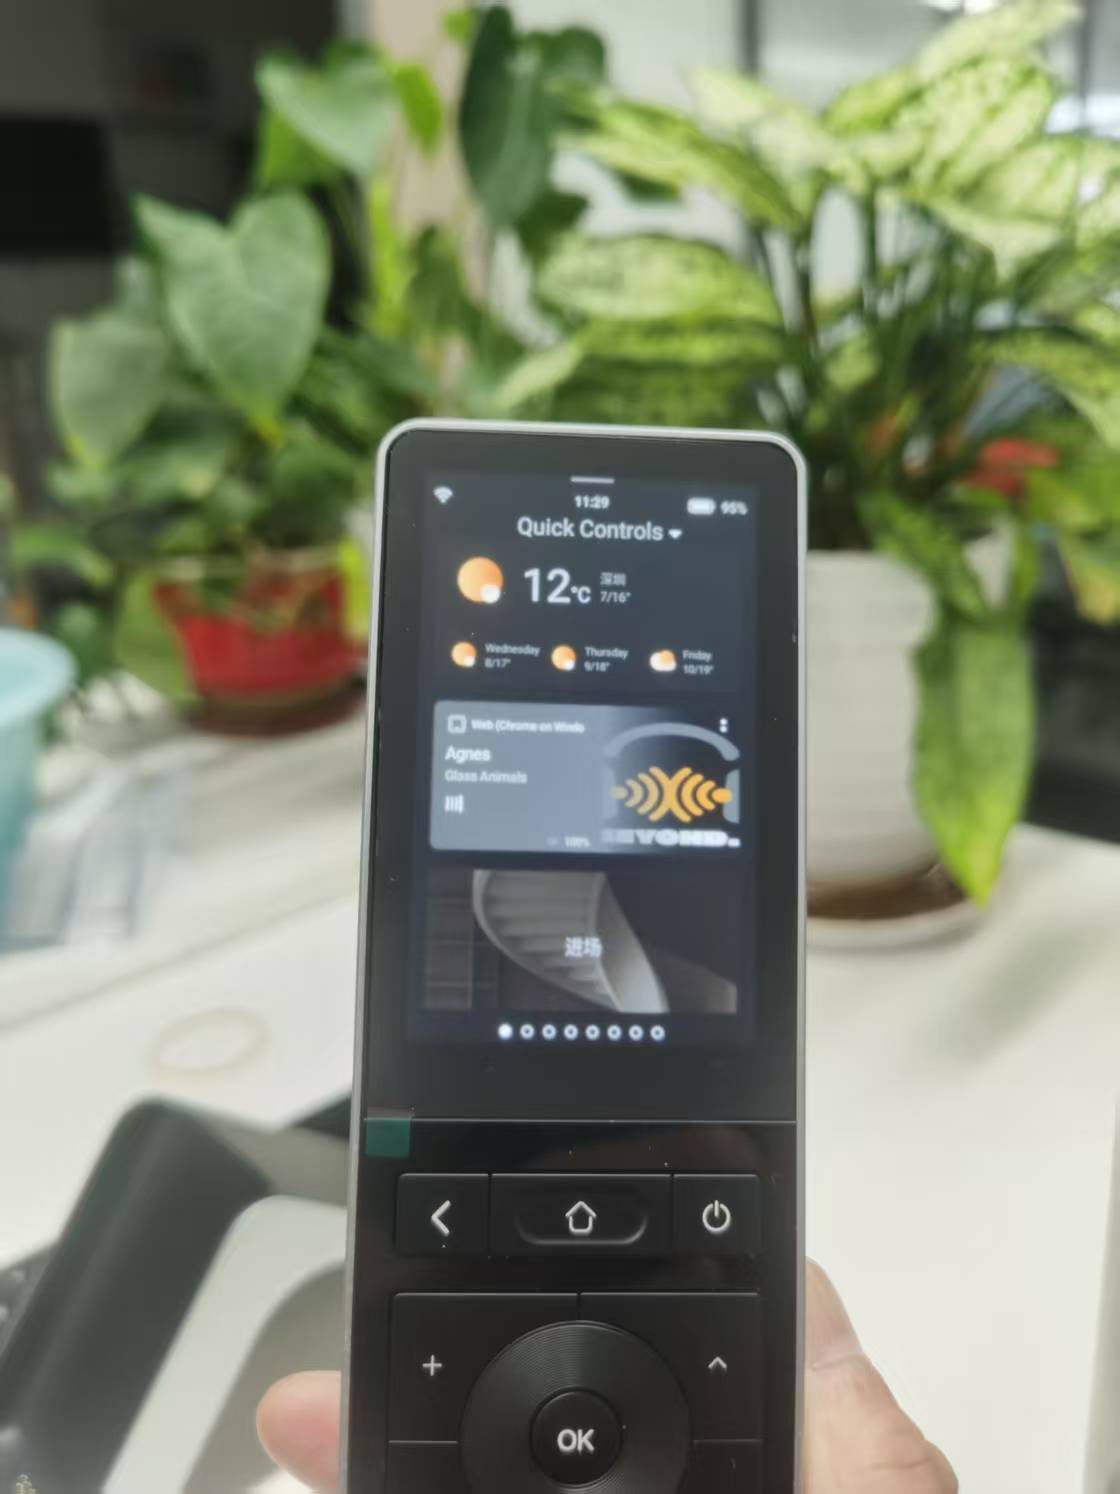
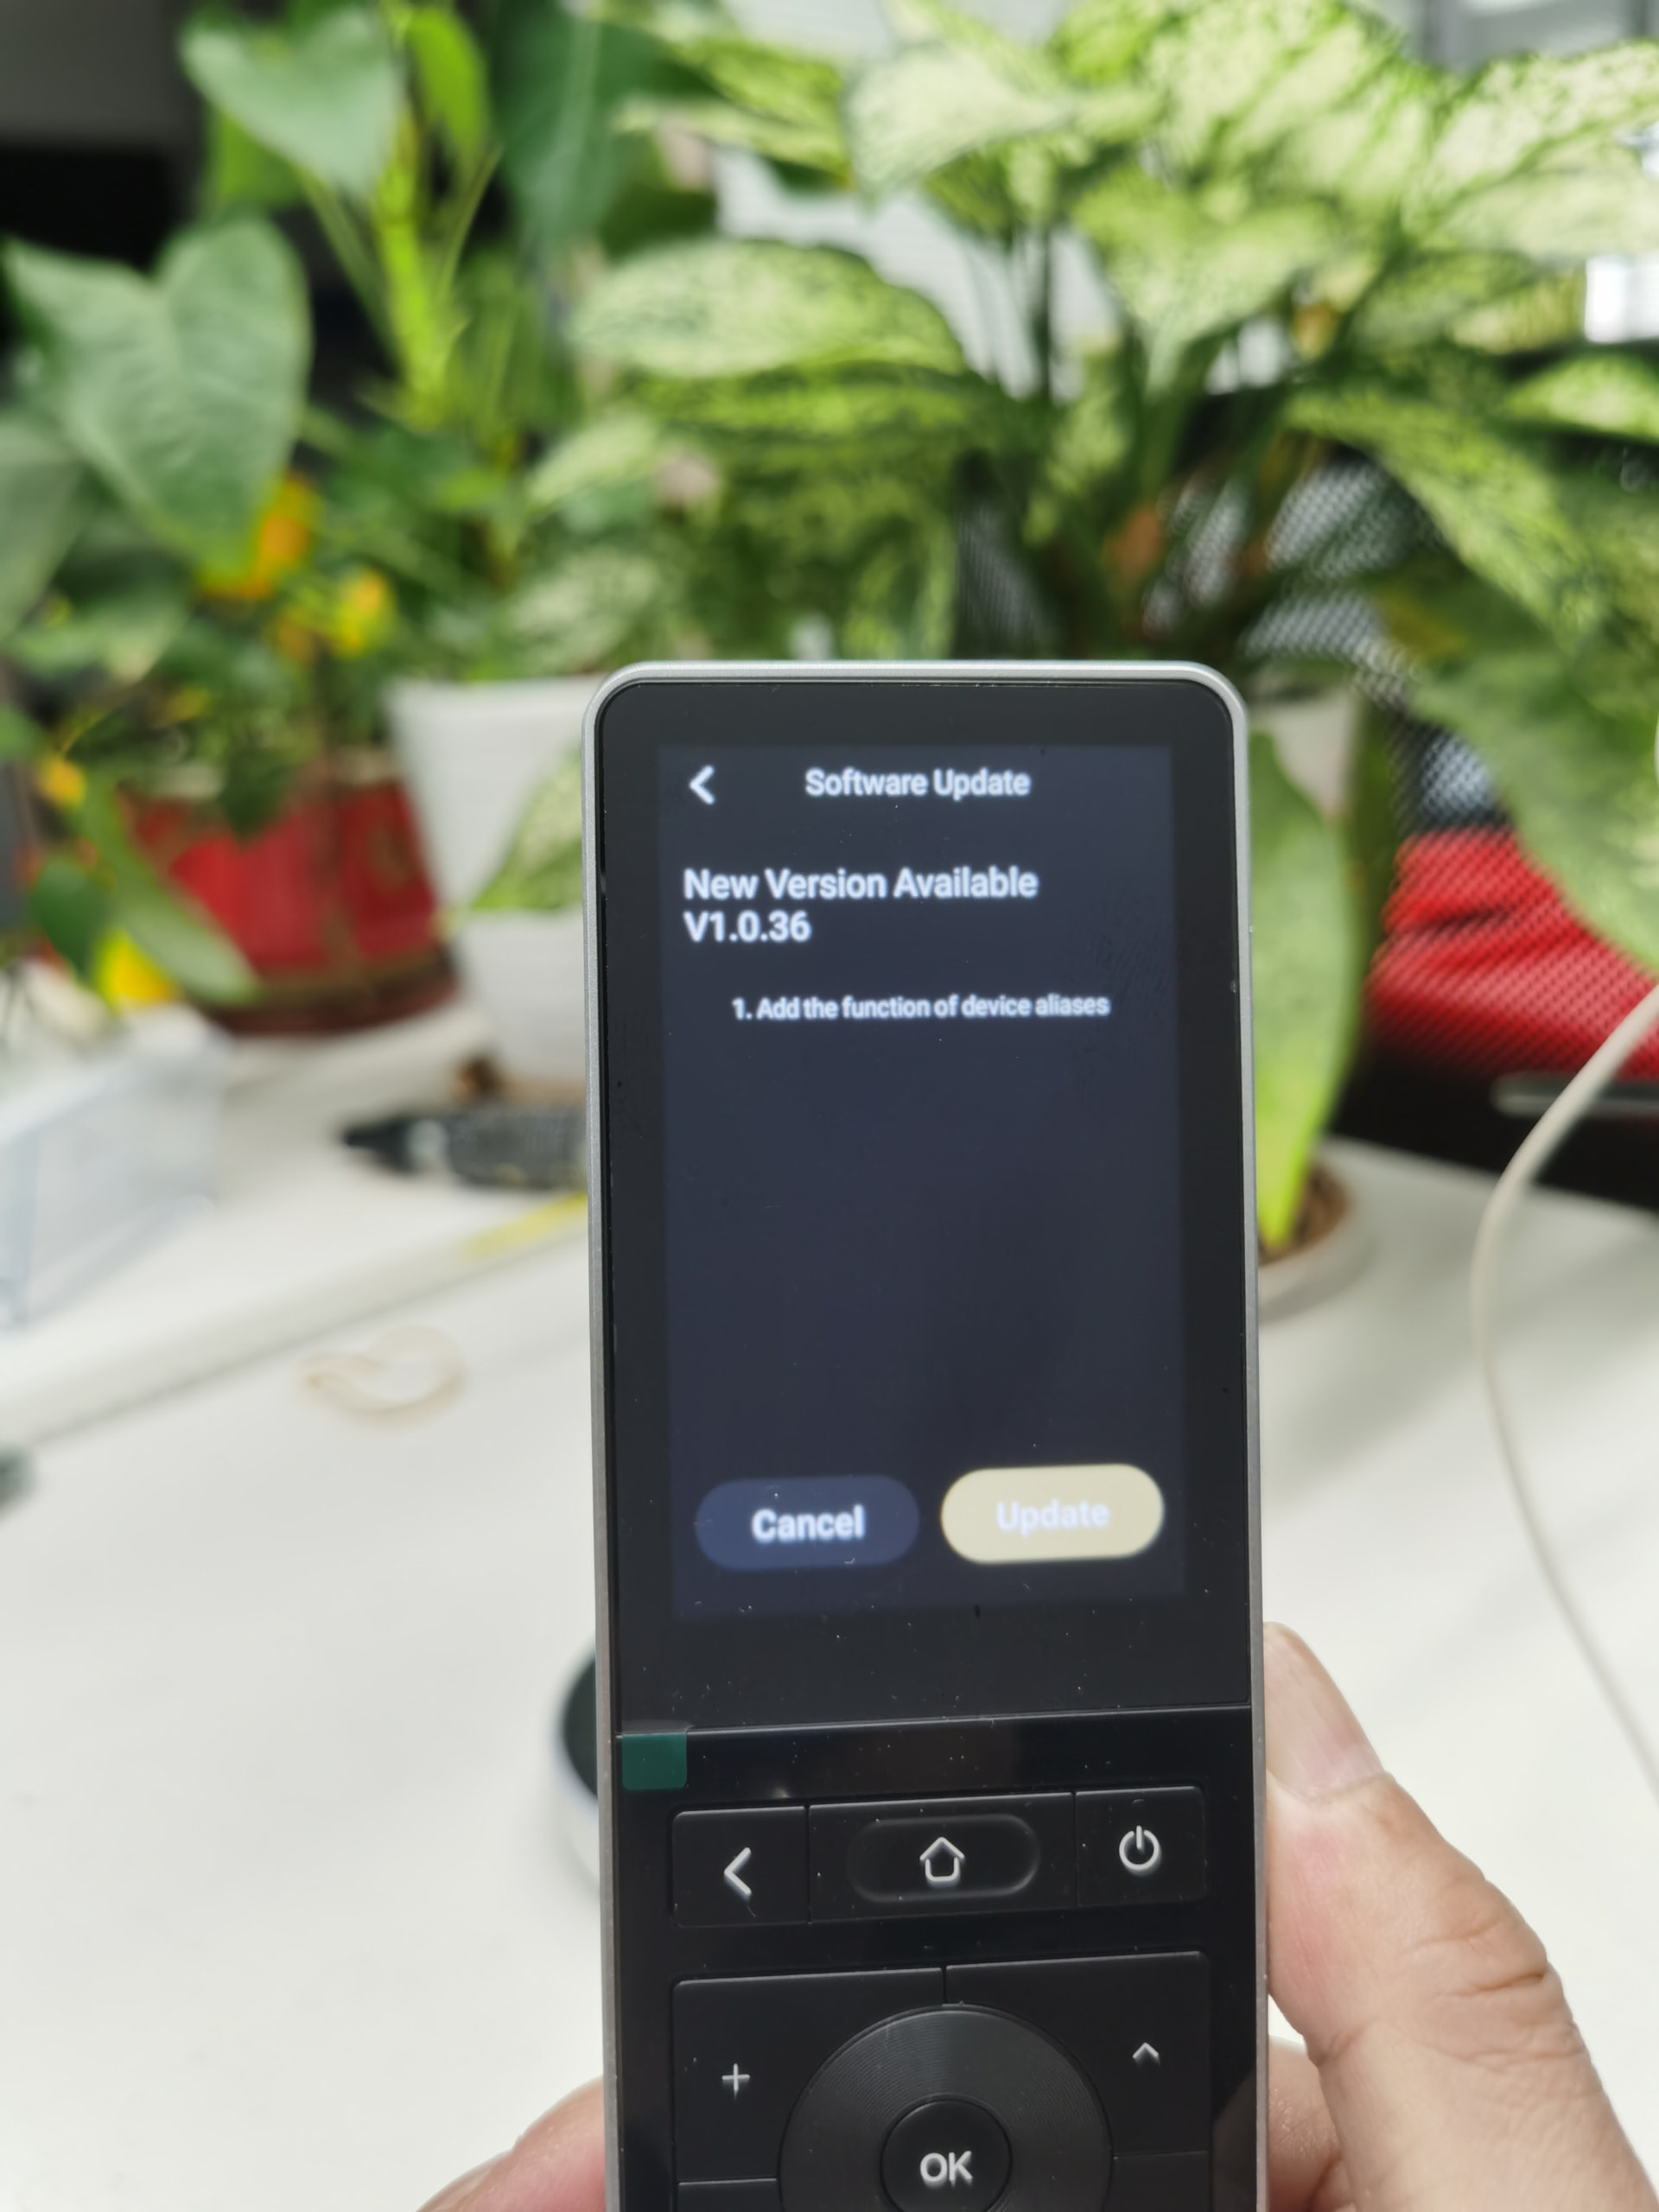
Step 3 – Refresh Configuration
Save your settings.
Then pull down on the Astrion Smart Remote screen to perform a manual refresh and synchronize the latest configuration.
IV. Video Demonstration
 Setup Tutorial Included
This video focuses on installing the Astrion Home Integration and configuring your first IR device.
A separate feature showcase video covering TV Cards, Harmony HUB integration, media-player binding, and real-world usage scenarios will be released later.
 Feedback Welcome
This release lays the foundation for broader IR device support within the Astrion ecosystem.
We welcome feature requests, bug reports, and integration ideas from the community as we continue expanding supported device categories and card types in future releases.
 Current Versions
 Known Issues
 Full Changelog