Getting Started: Setup & Launcher Tour
Follow these steps to set up your Astrion Remote for the first time.
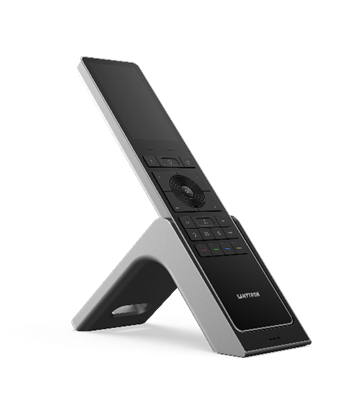
Step 1: Unbox & Charge
-
Place the remote on its magnetic charging dock.
-
Figure 3: Unboxing & charging setup
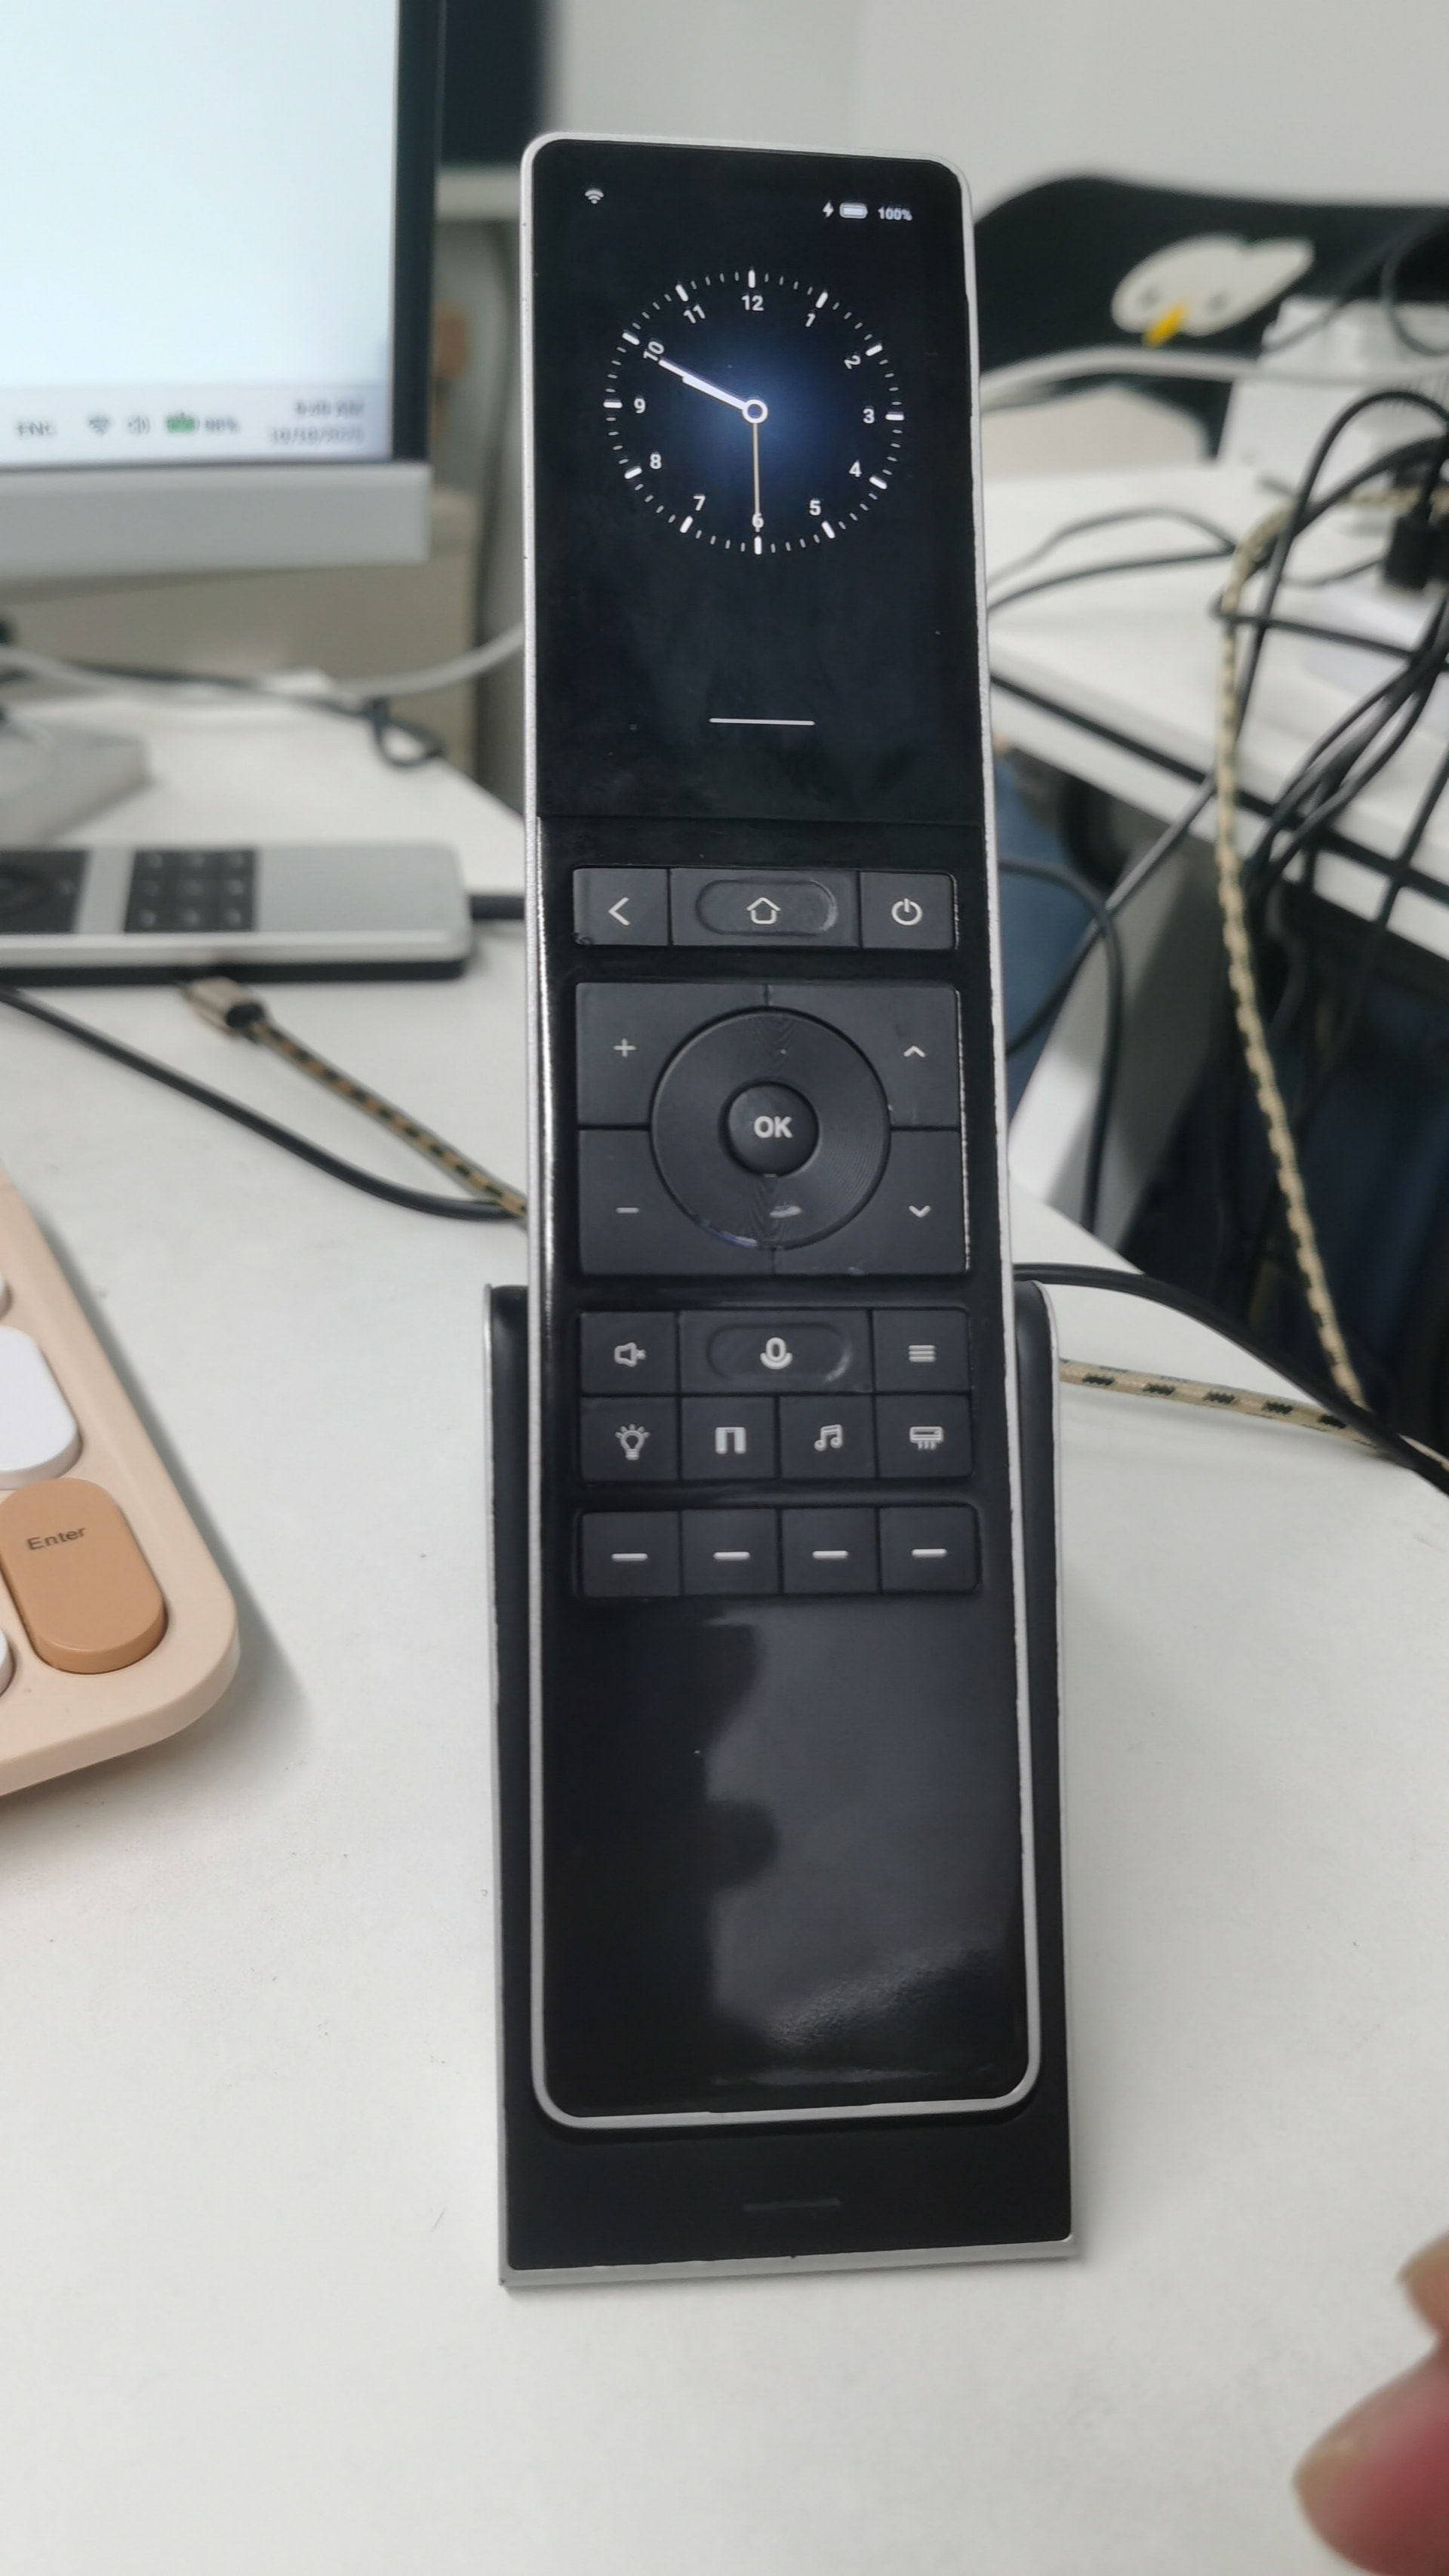
Step 2: Power On
-
Press and hold the power button until the screen activates.
-
Figure 4: Power-on sequence
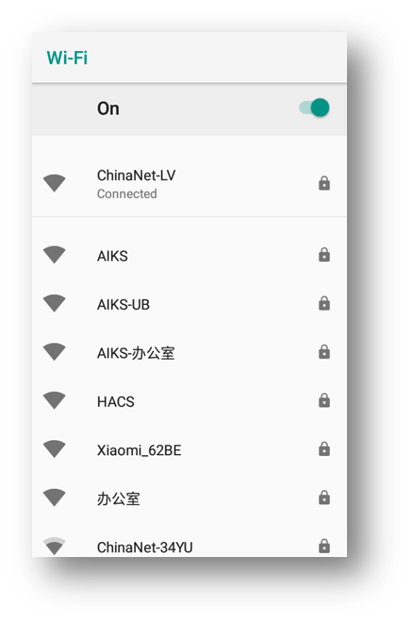
Step 3: Connect to Wi-Fi
-
Follow on-screen prompts to join your local network.
-
Figure 5: Wi-Fi connection screen
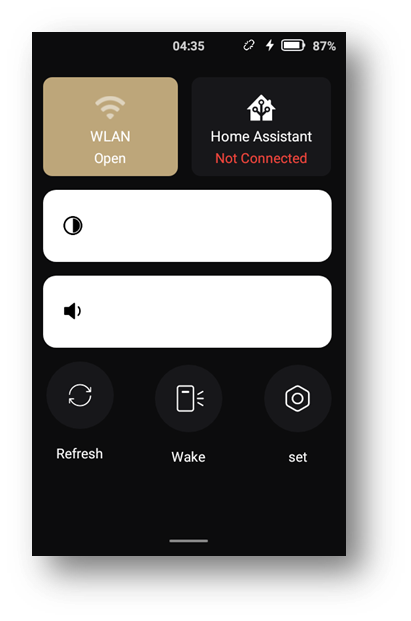
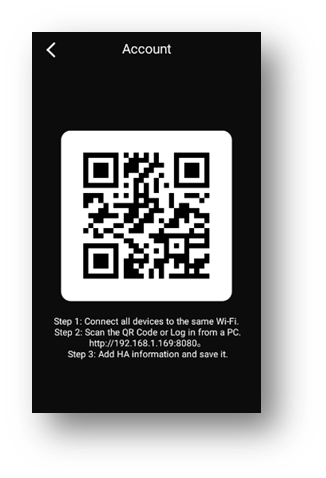
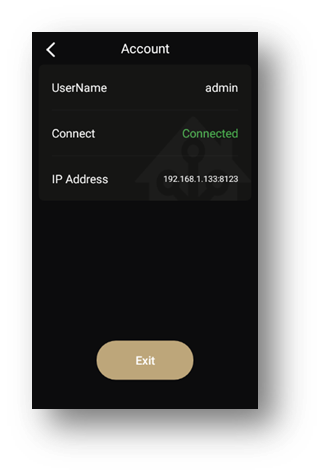
Step 4: Log in to Home Assistant
-
Use QR code or manual URL.
-
Figure 6: HA login screen
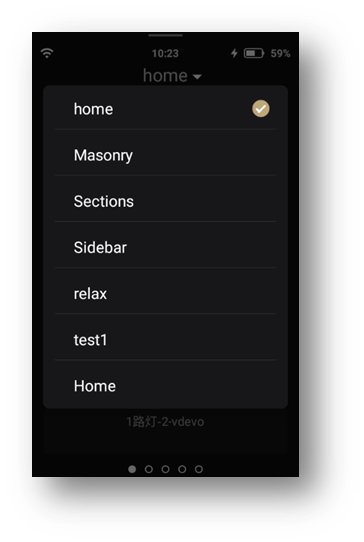
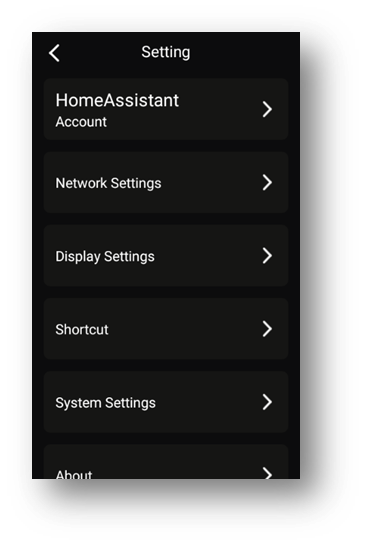
Launcher Overview
-
Home Screen: Main HA dashboard & view switcher
[Figure 7] -
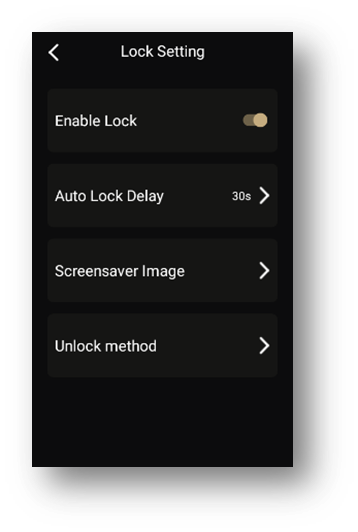
Settings: Configure shortcuts, Wi-Fi, and HA connection
[Figure 8] -
System Tray: Quick access to brightness, sleep, and power options
[Figure 9]
Tip: Keep the remote on the same Wi-Fi subnet as your HA server for auto-discovery.